
How to create or edit Roles
The following steps show how to create and edit Roles in a Project or Sub Project.
- Log in to the RDA
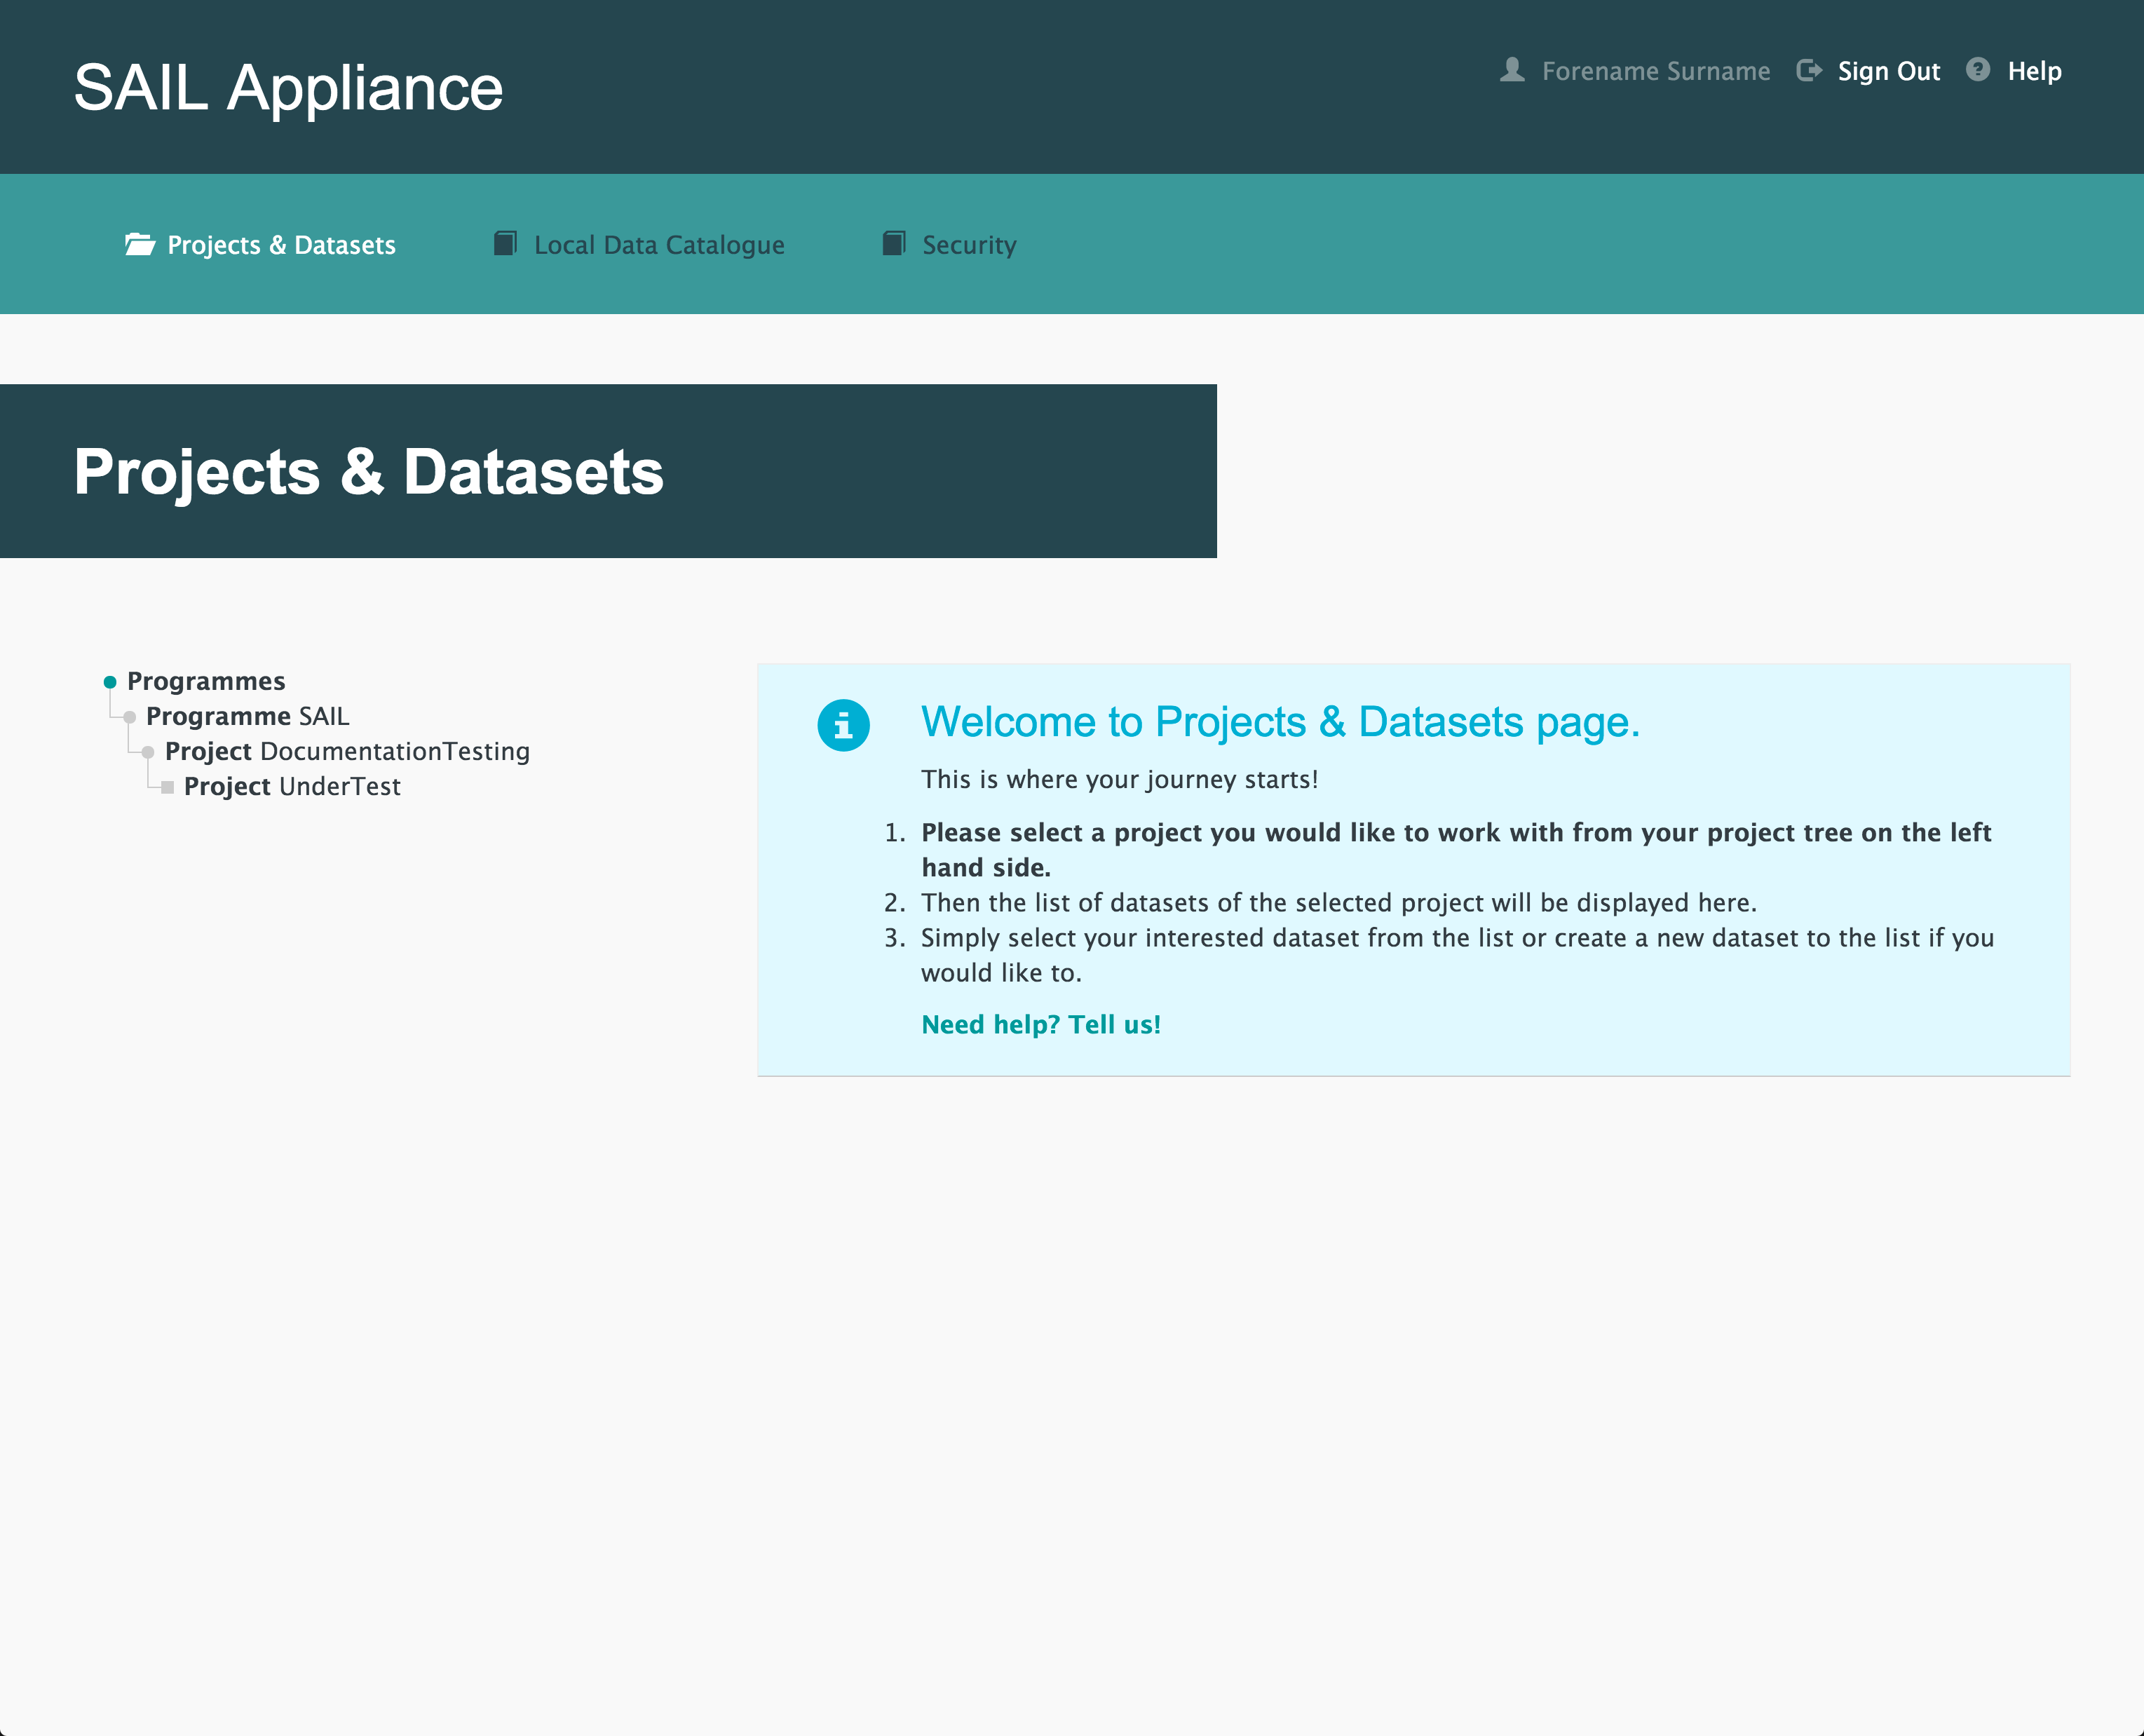
Default view of RDA user interface
- Click Security

Security menu item
- Click Projects (should be selected by default)
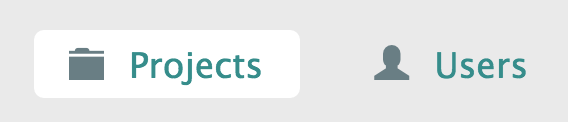
Projects menu item
- Select a Project from the left-hand navigation menu
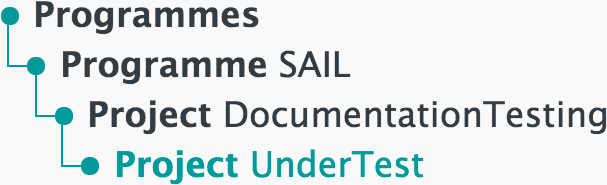
Left-hand navigation menu showing available Projects
- Click Roles
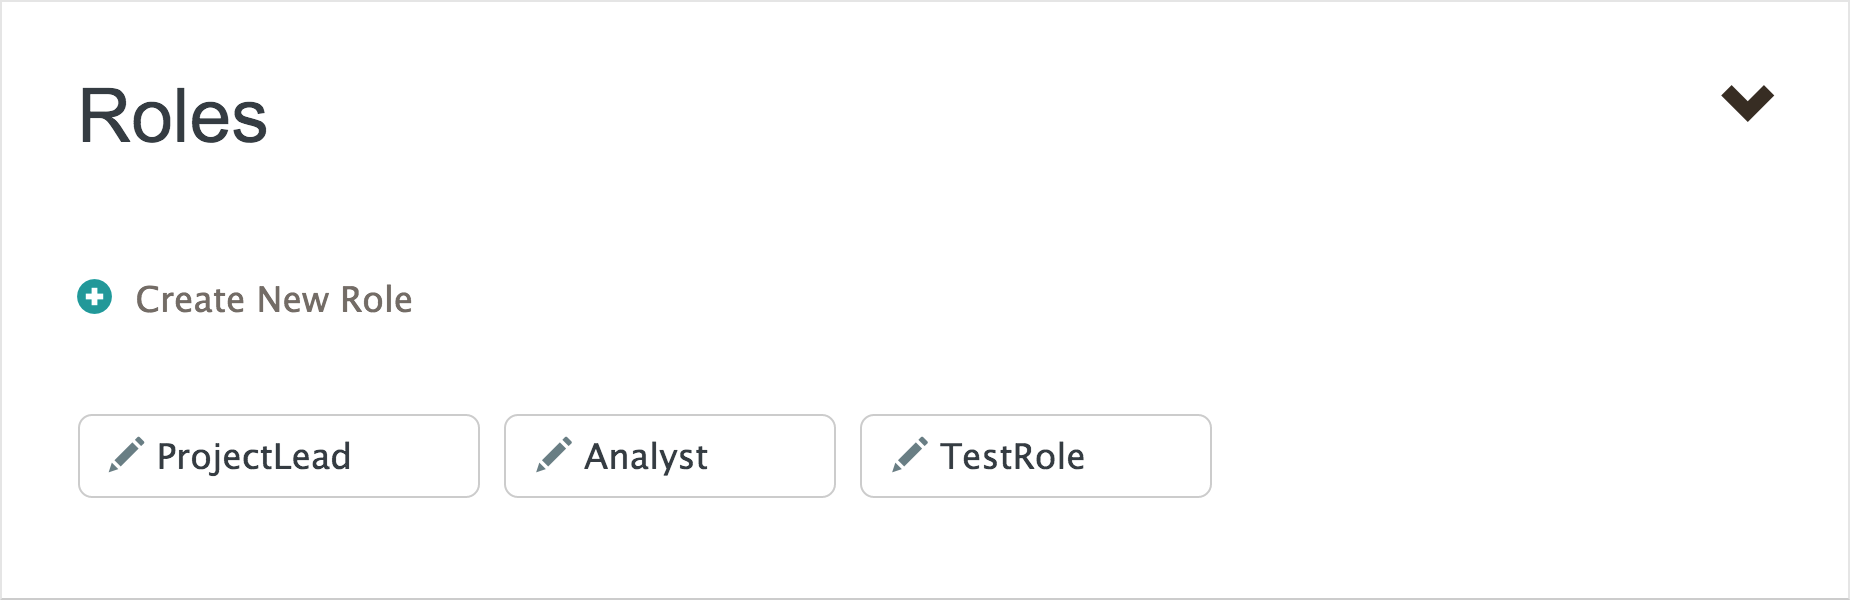
An example of the Roles section is shown below:

- Click Create New Role
- Enter a name for the new Role
The name must not contain any spaces.
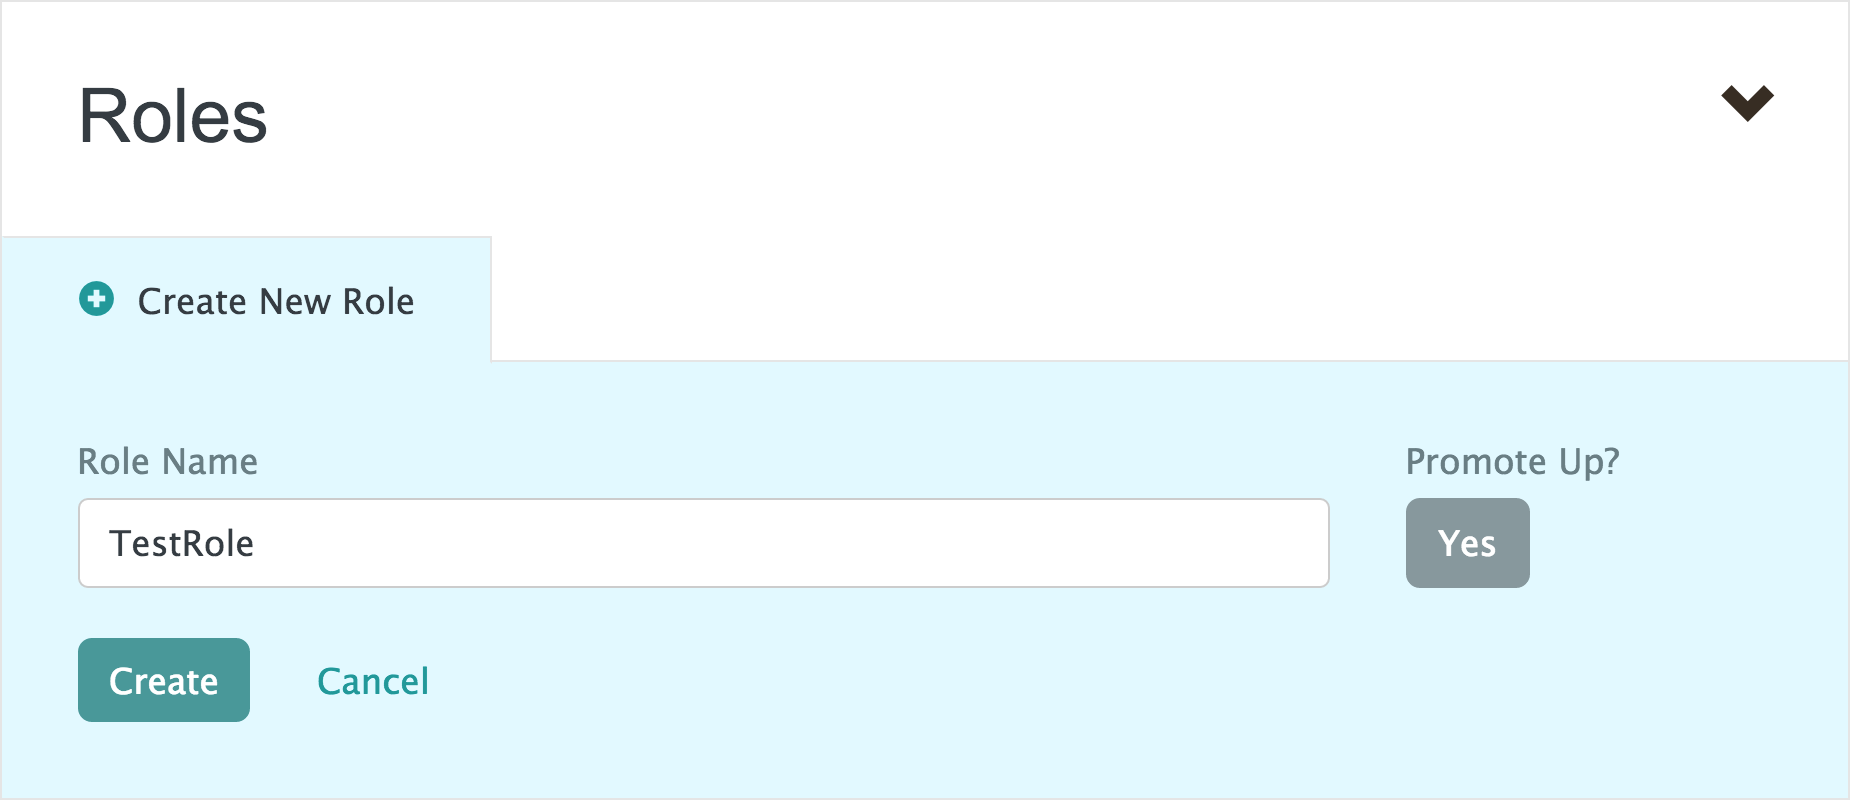
- Click
The new Role will be displayed alongside other existing Roles in the Project.
- Click the new Role to edit its details
The panel expands to allow new Permissions to be added to the Role, via the link. The panel also allows users to be assigned to the Role, via the Add User to Role link.
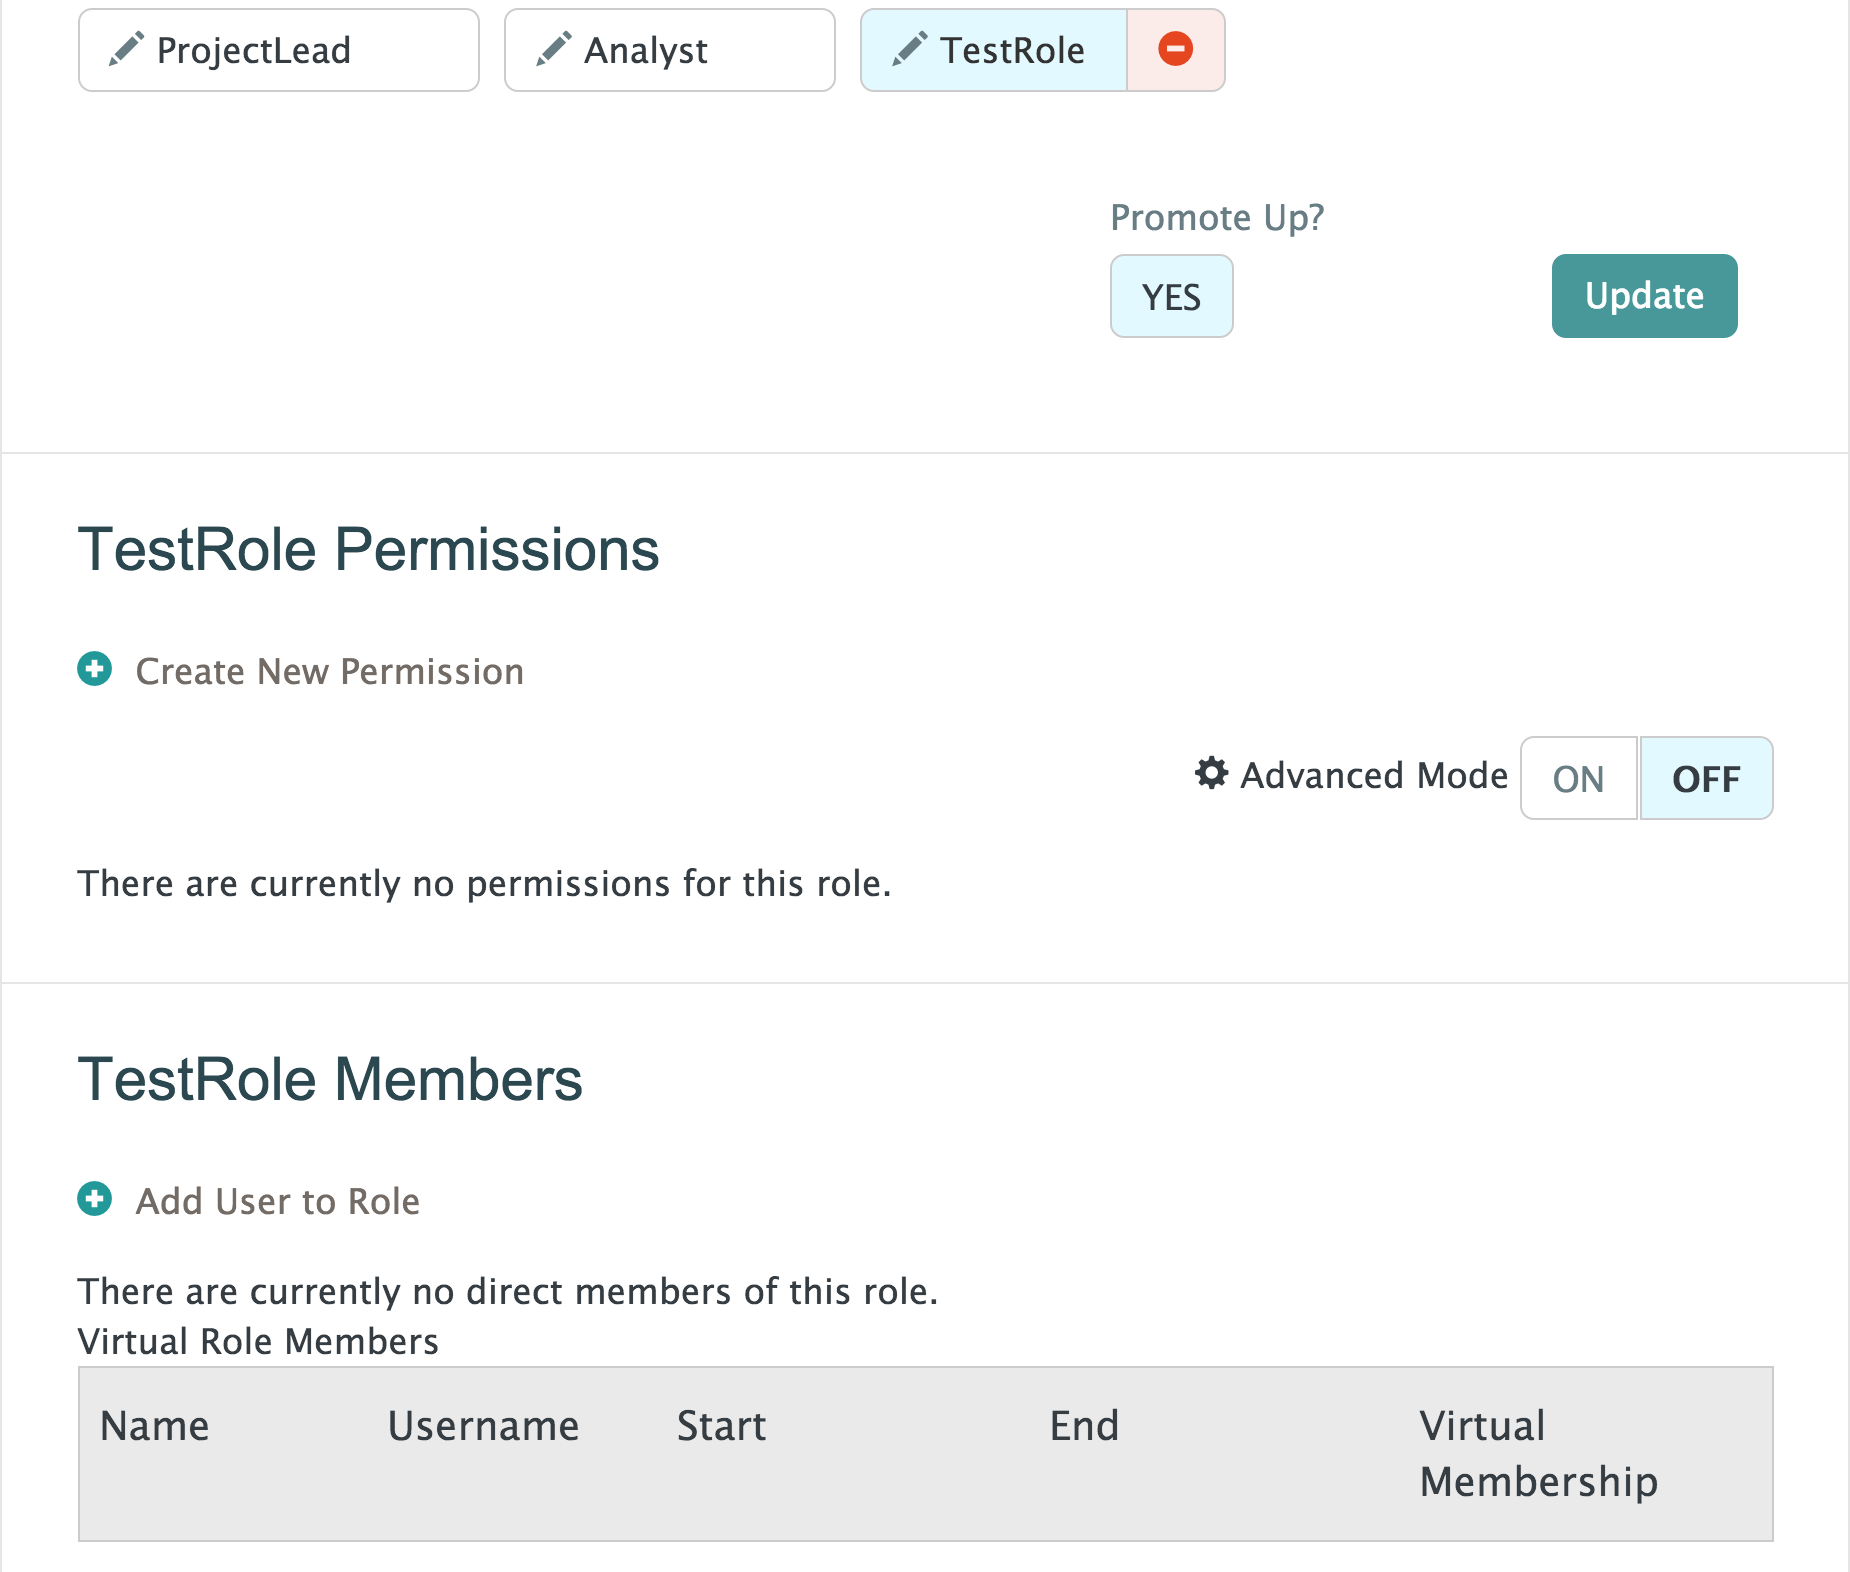
Expanded Roles panel