
How to upload data
The following steps show how to upload a data file to an existing Dataset.
Data must be added to a Dataset before the Dataset is published in the Local Data Catalogue. For information on creating a Dataset, see How to create a Dataset.
- Log in to the RDA
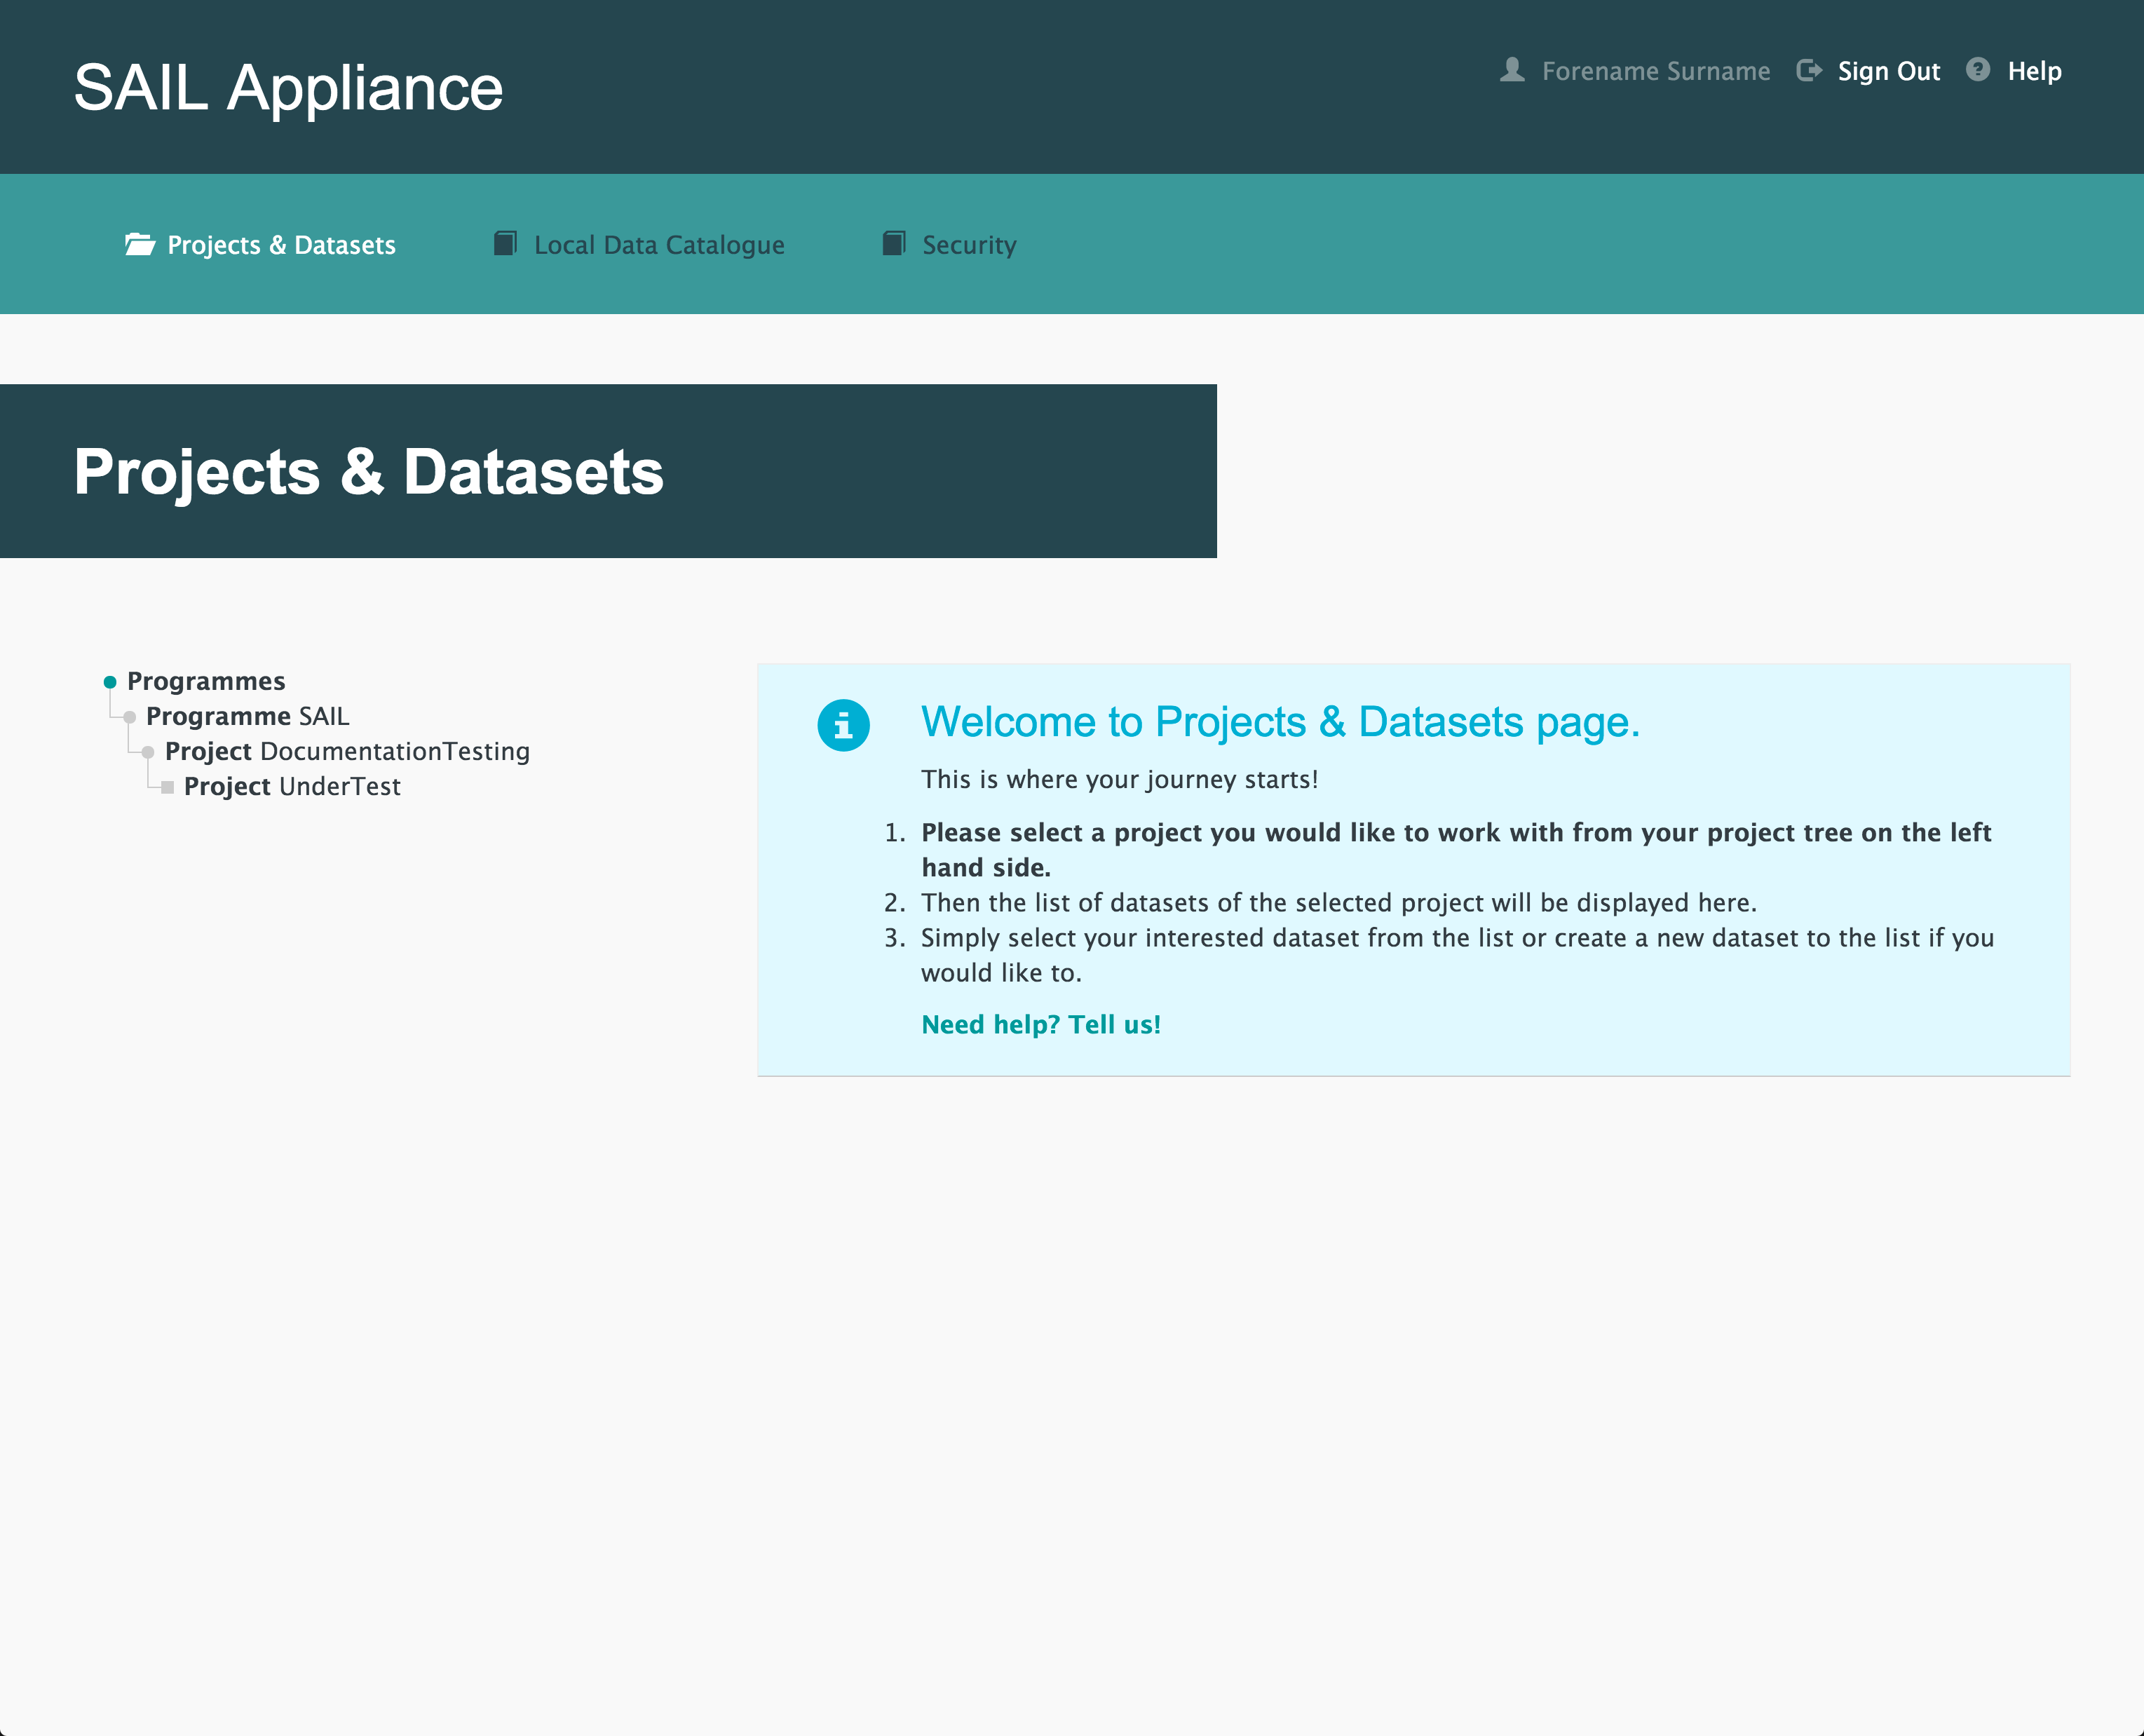
Default view of RDA user interface
- Click Projects & Datasets

Projects & Datasets menu item
The Projects & Datasets section is selected by default.
- Select a Project from the left-hand navigation menu

Left-hand navigation menu showing available Projects
- Click
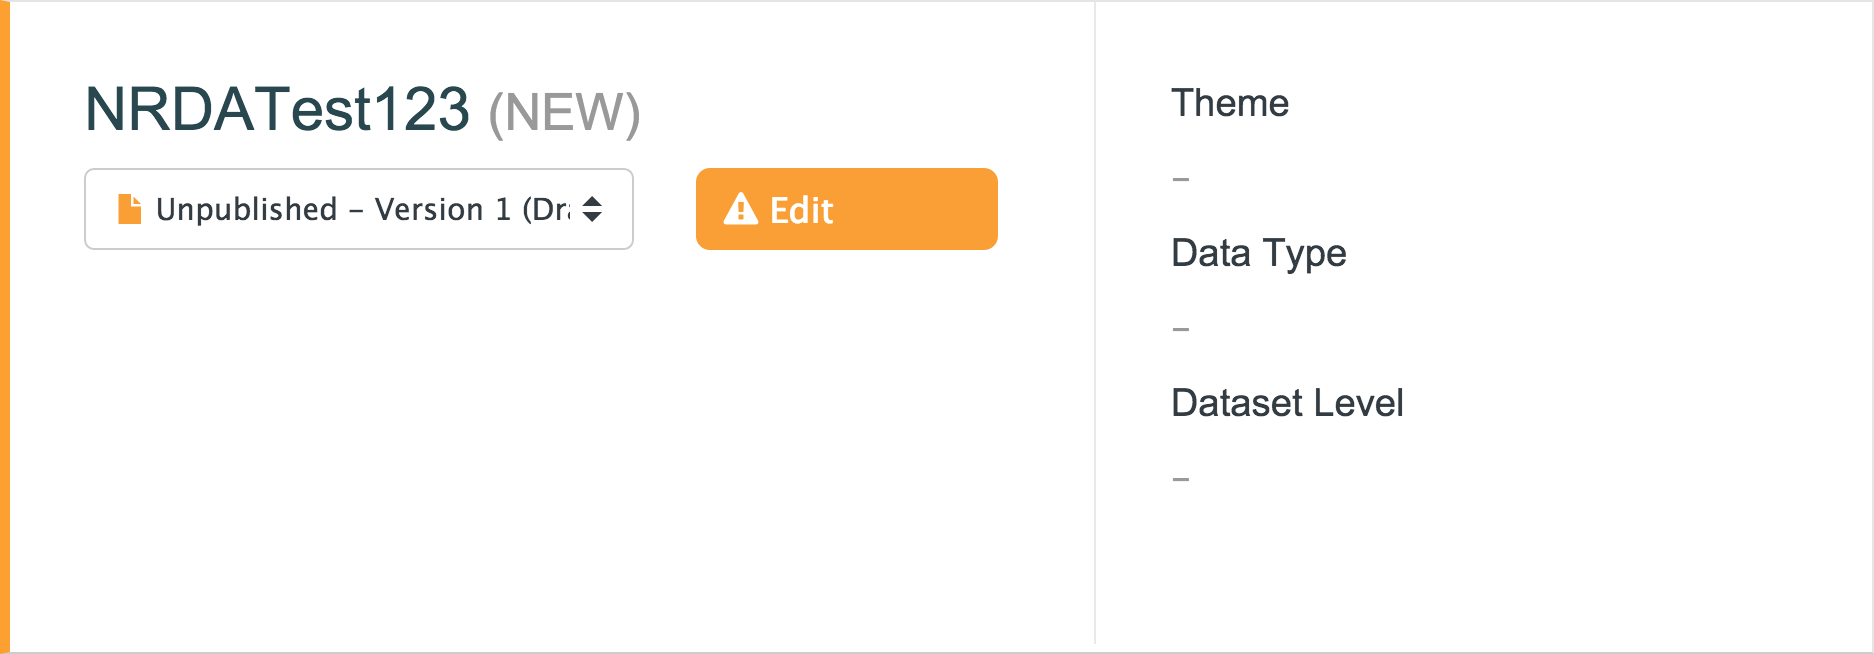
Sample unpublished Dataset
- Click Data Files

Data Files menu item
- Click

Default view of Data Files page with no data added
A Dataset cannot be published until all mandatory fields on the Data Files page have been completed. See Pre-Publish for more information.
The Upload Data File panel appears and prompts the user to upload a file or folder.
- Select the relevant options from the File Upload Settings panel
- Click or to upload the relevant content

The file must follow a set of formatting requirements. Click below for more information.
- All dates or timestamps within a column should be in the same format
- If character type columns have commas or other delimiter type characters within text, then the character type column should have text data within it enclosed in quotes
- It is recommended that the number of columns in source data file / tables be less than 500
- Eligible data sources include CSV files
- It is recommended that string (character, varchar, text) type data columns should be enclosed in quotes
- If strings that are quoted have same quote within the data elements, then the quote within data element needs to be escaped with a backslash e.g. ’Simon Mc’Freddie’ becomes ‘Simon Mc\’Freddie’
After uploading a file or folder, the following panel is displayed:
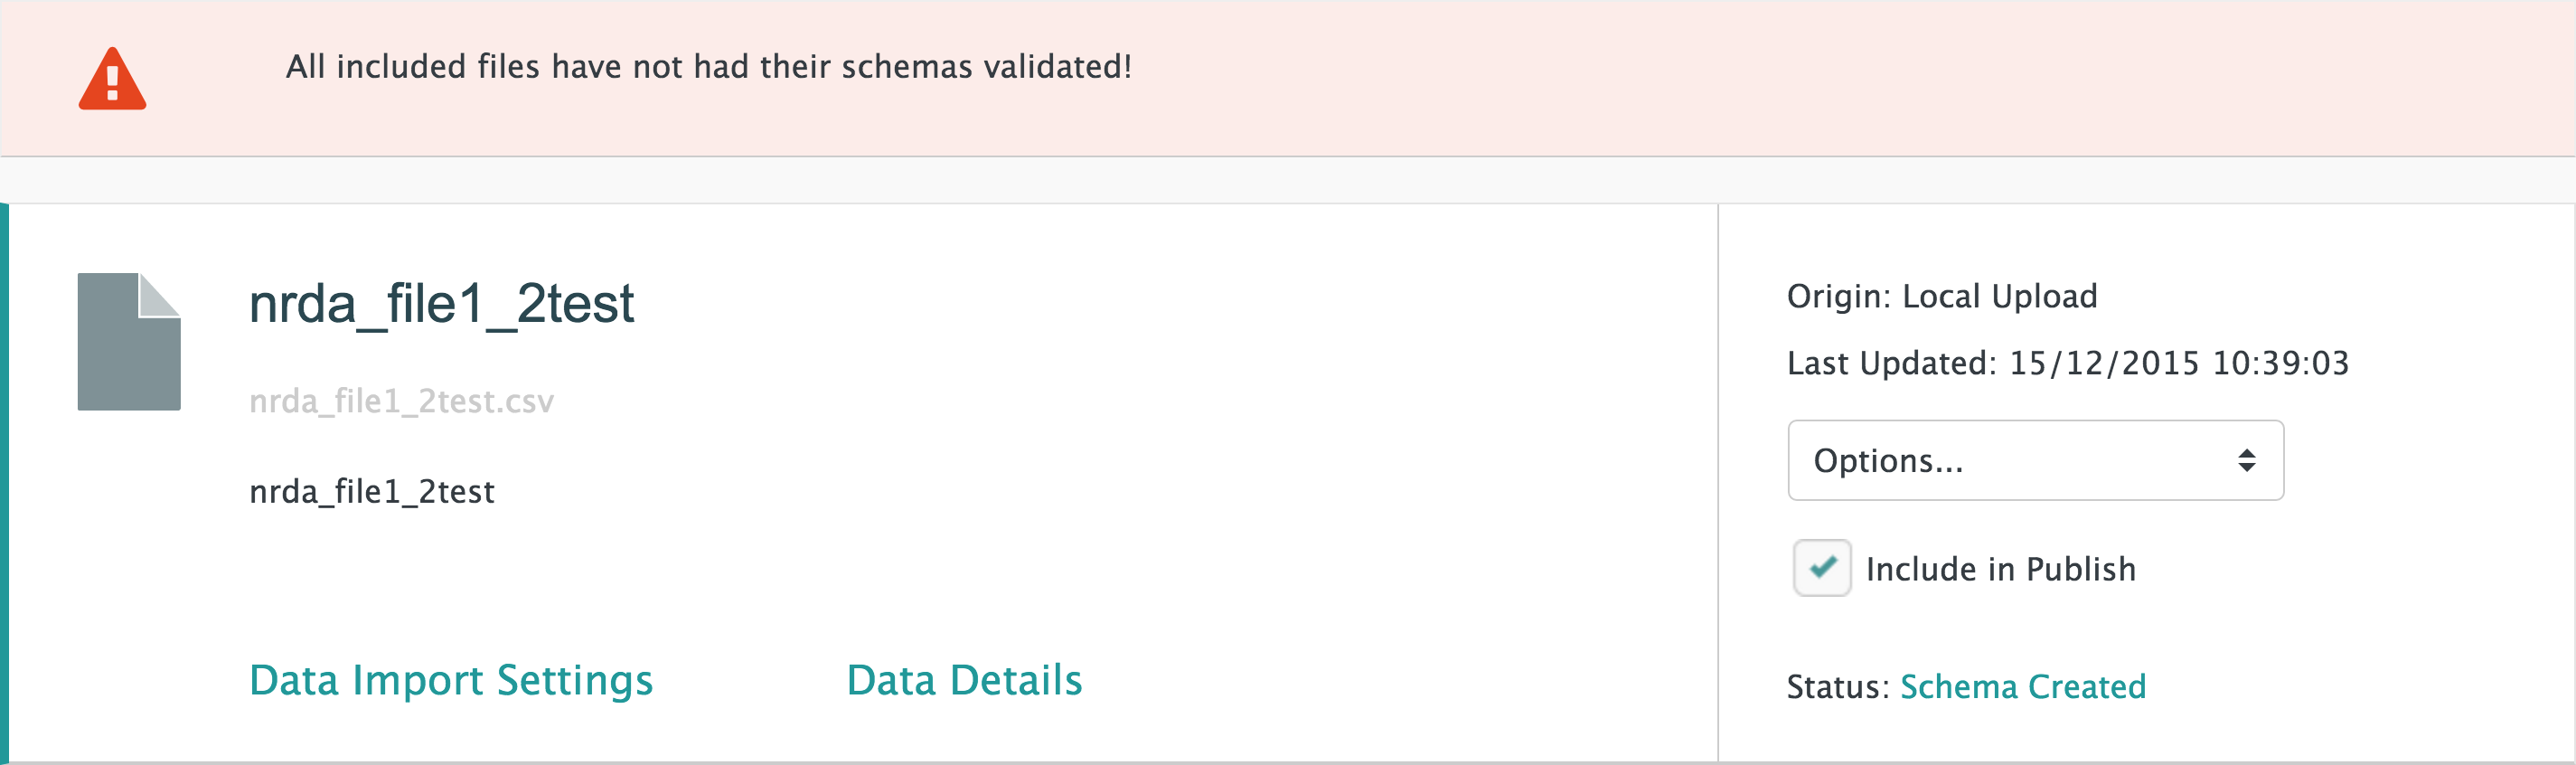
To adjust further settings related to the uploaded data, see the following tasks: