
How to create a
The following steps show how to create a .
- Log in to the RDA
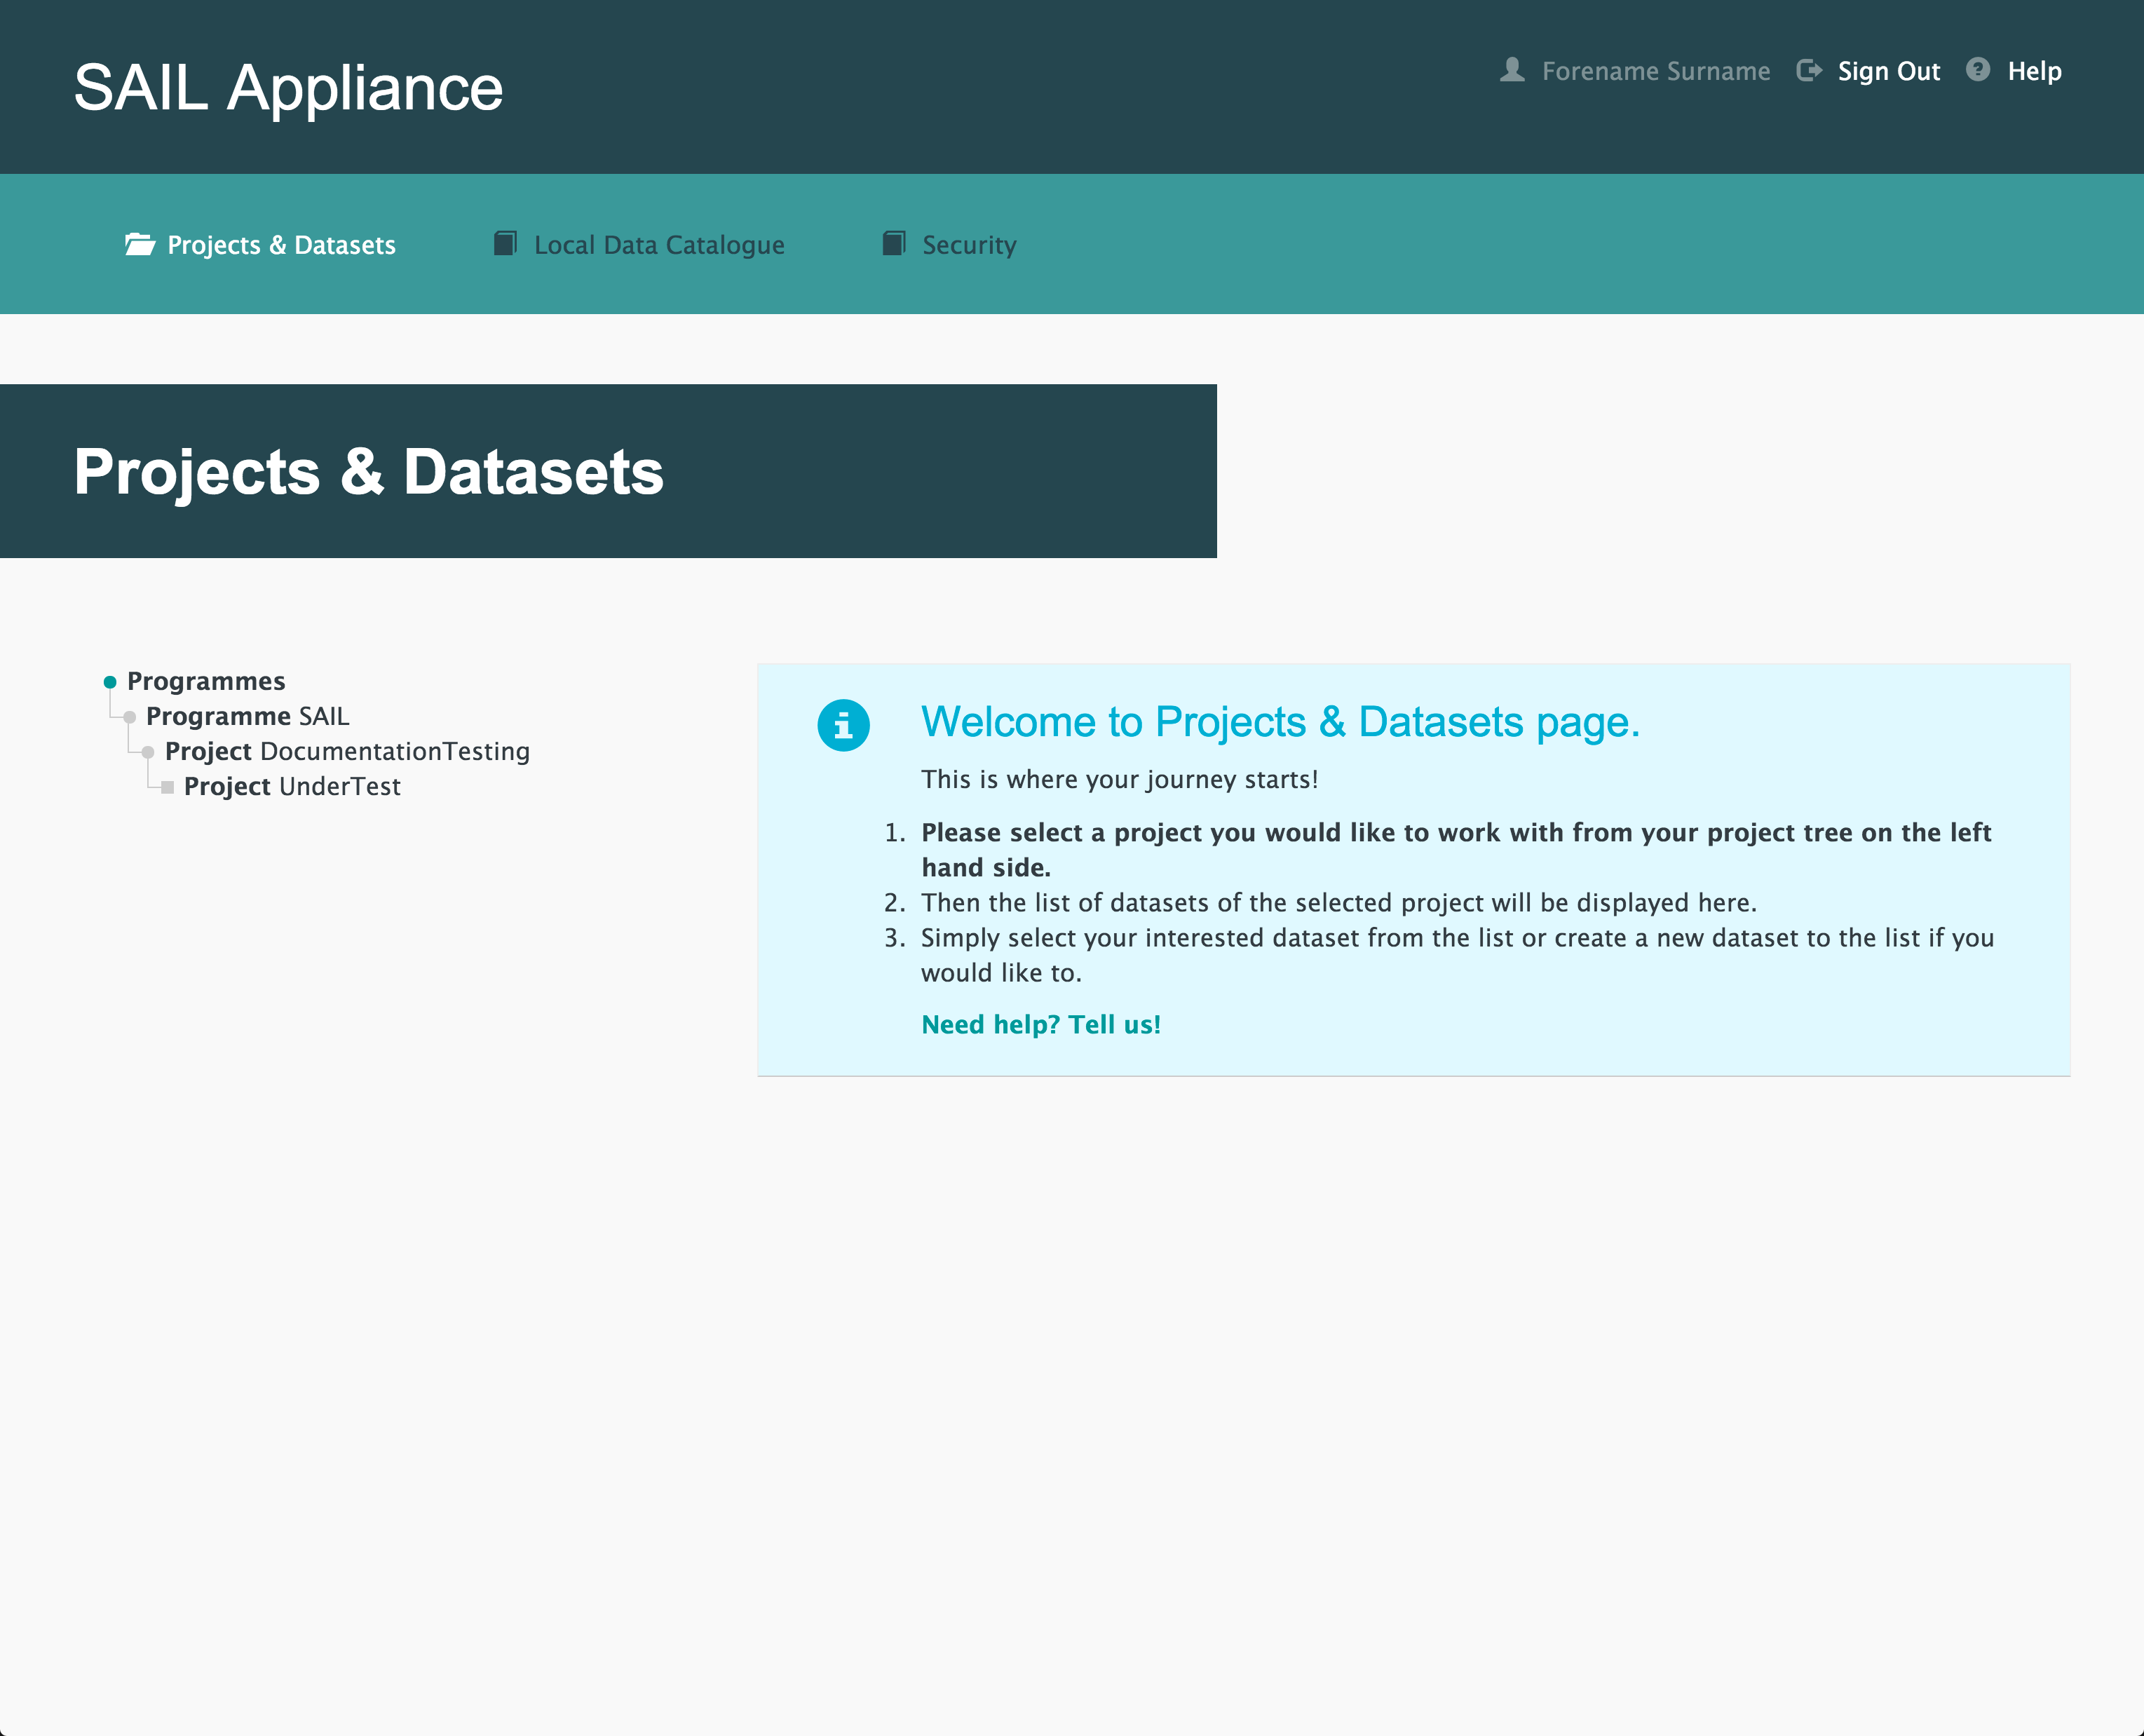
Default view of RDA user interface
- Click Projects & Datasets

Projects & Datasets menu item
The Projects & Datasets section is selected by default.
- Select a Project from the left-hand navigation menu
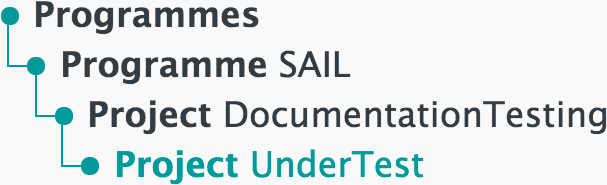
Left-hand navigation menu showing available Projects
- Click
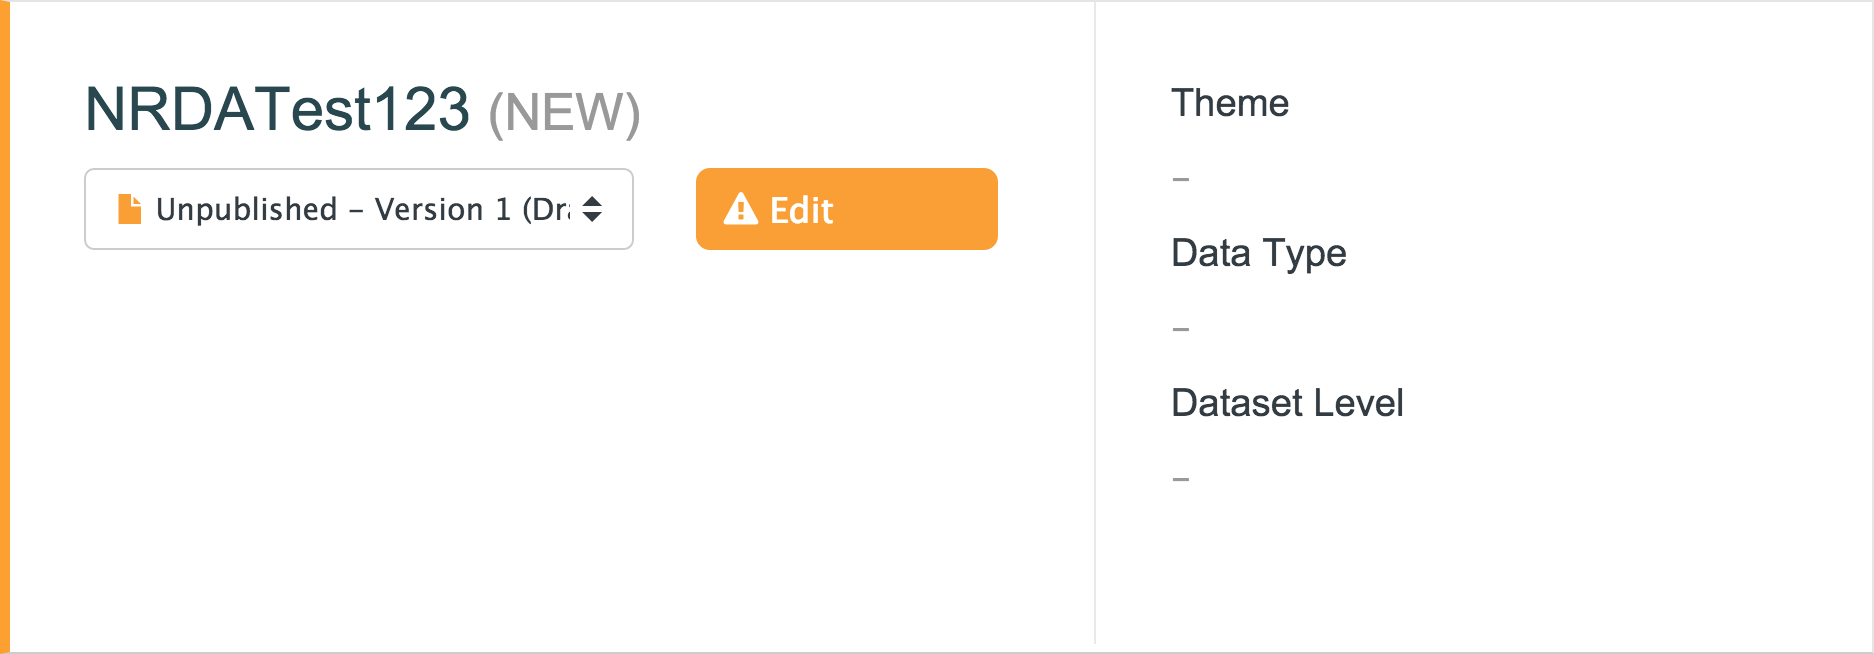
Sample unpublished Dataset
- Click

menu item
Once data has been uploaded and validated, a link appears on the page.
- Click
The link appears only after some data has been uploaded. For information on uploading data, see How to upload data.
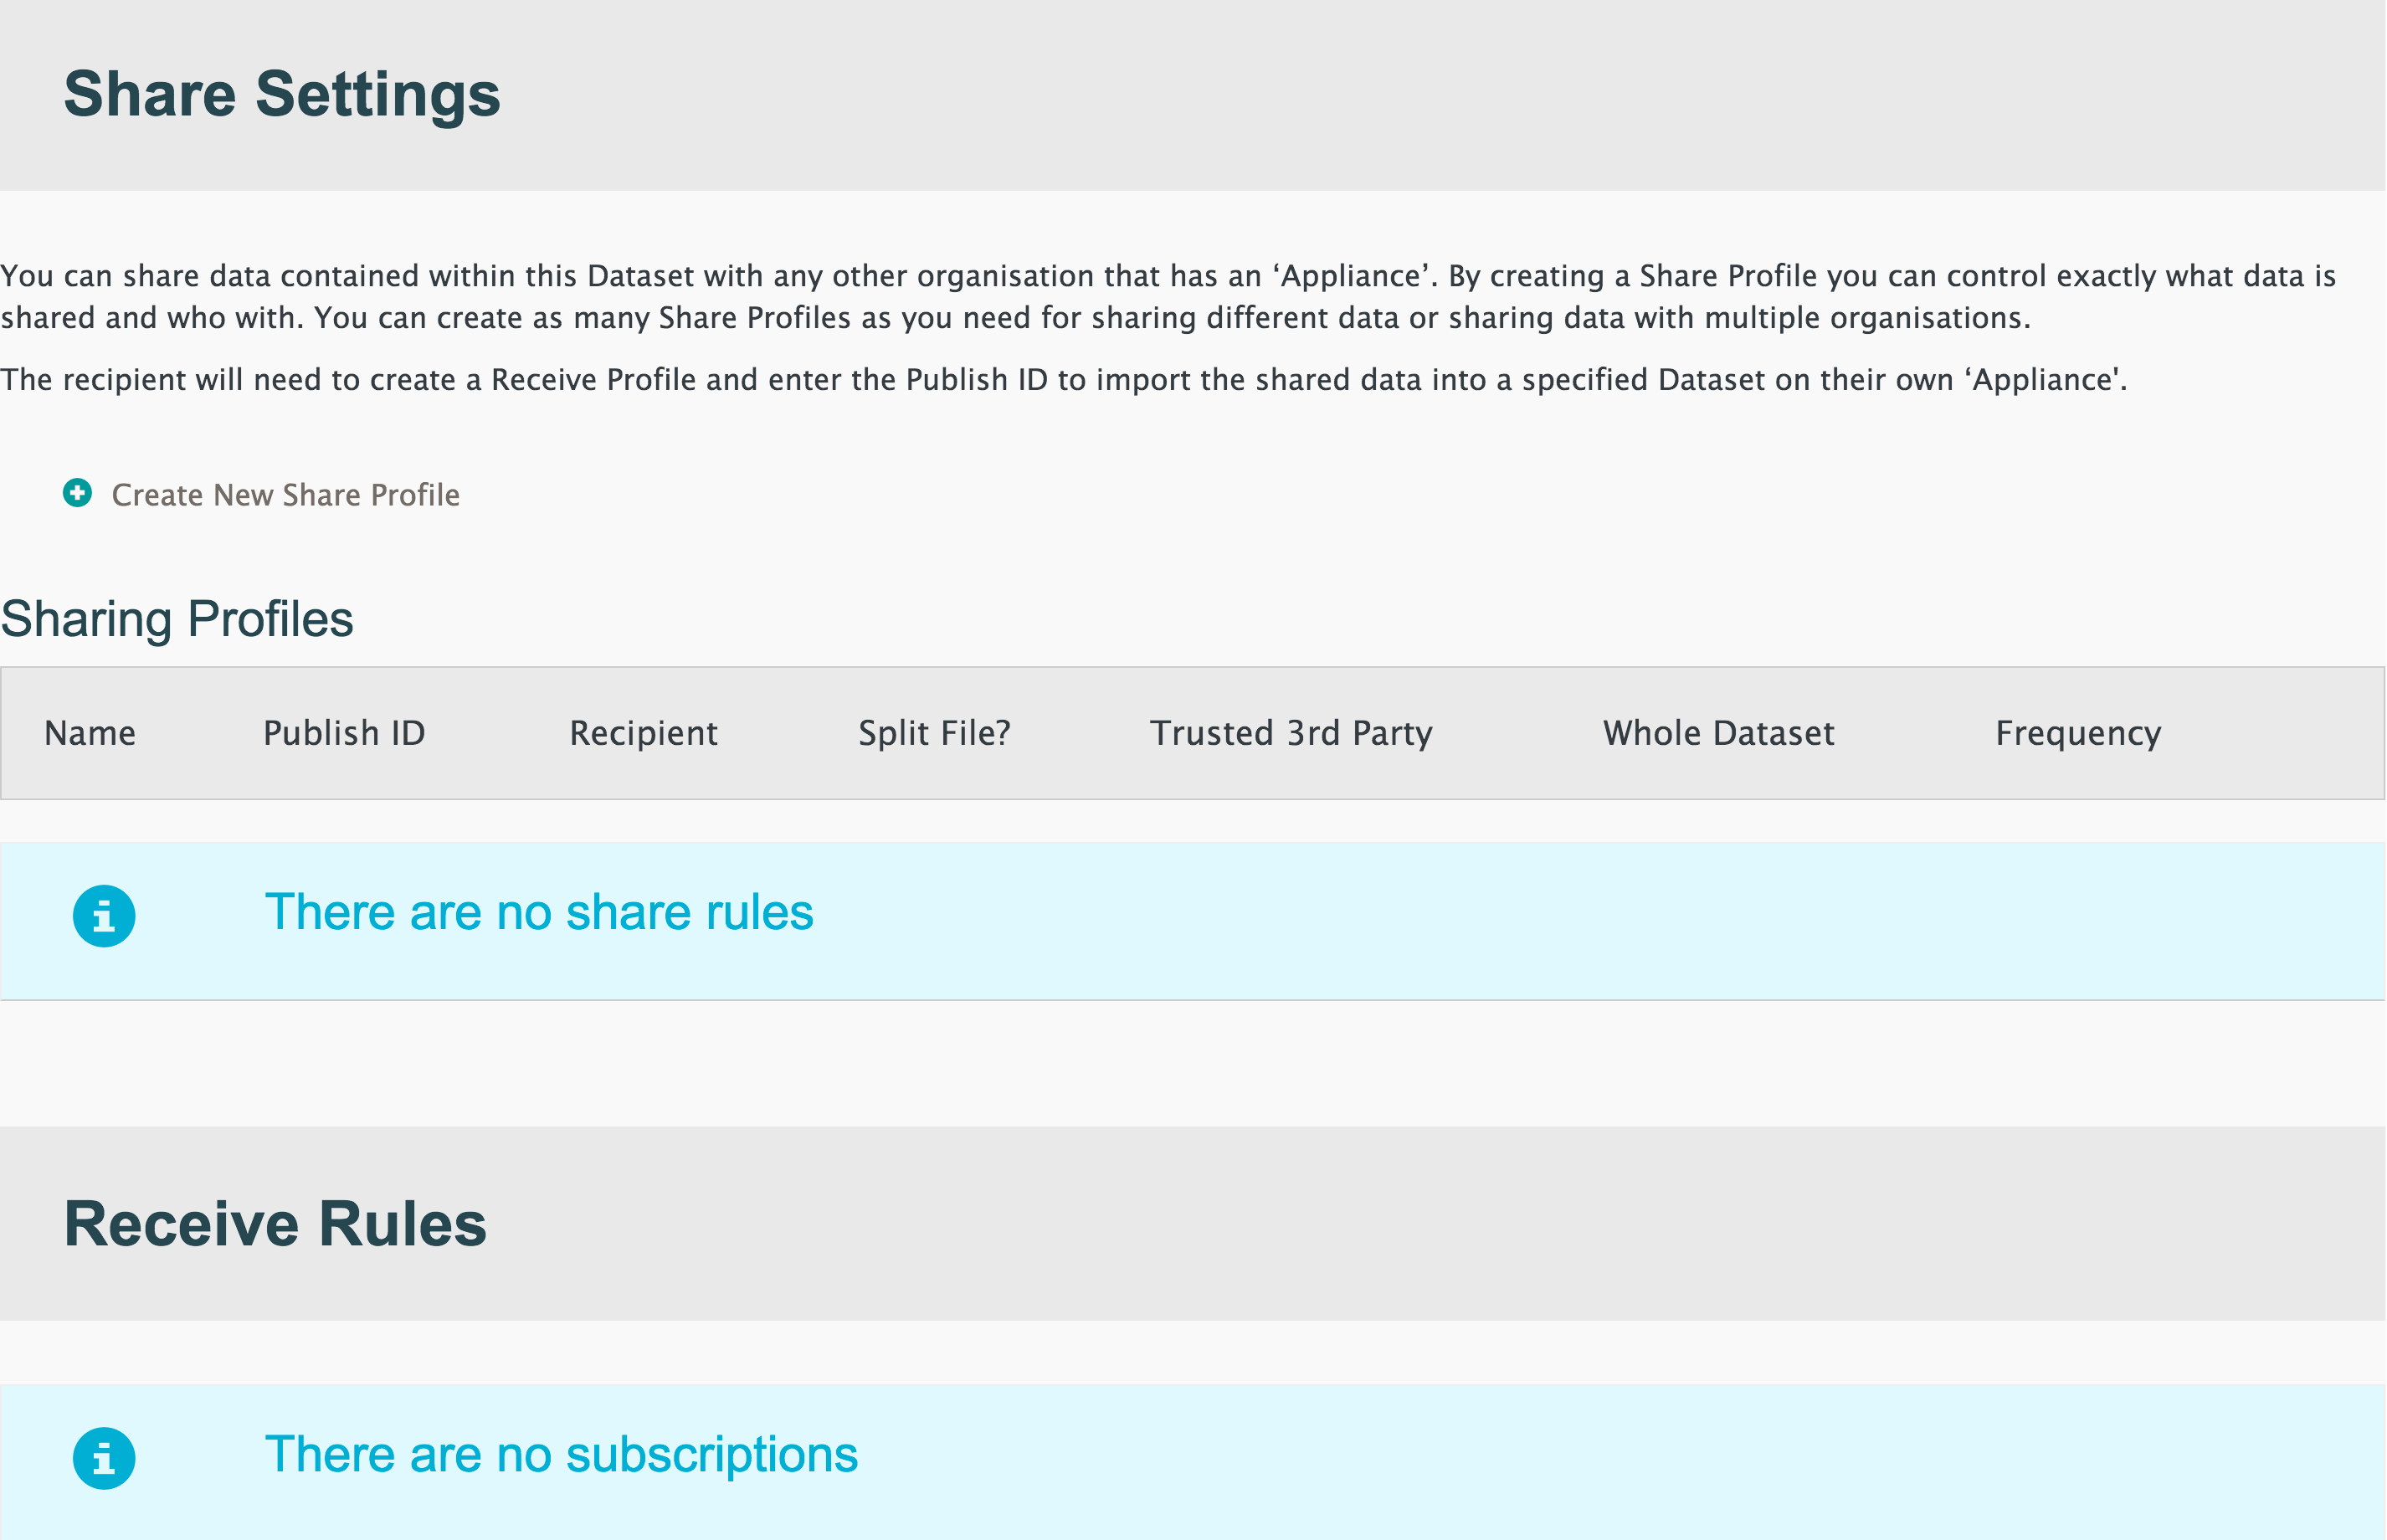
page after data has been uploaded and validated
The Create New Share Profile panel appears, as shown below:
- Complete the fields, and then click
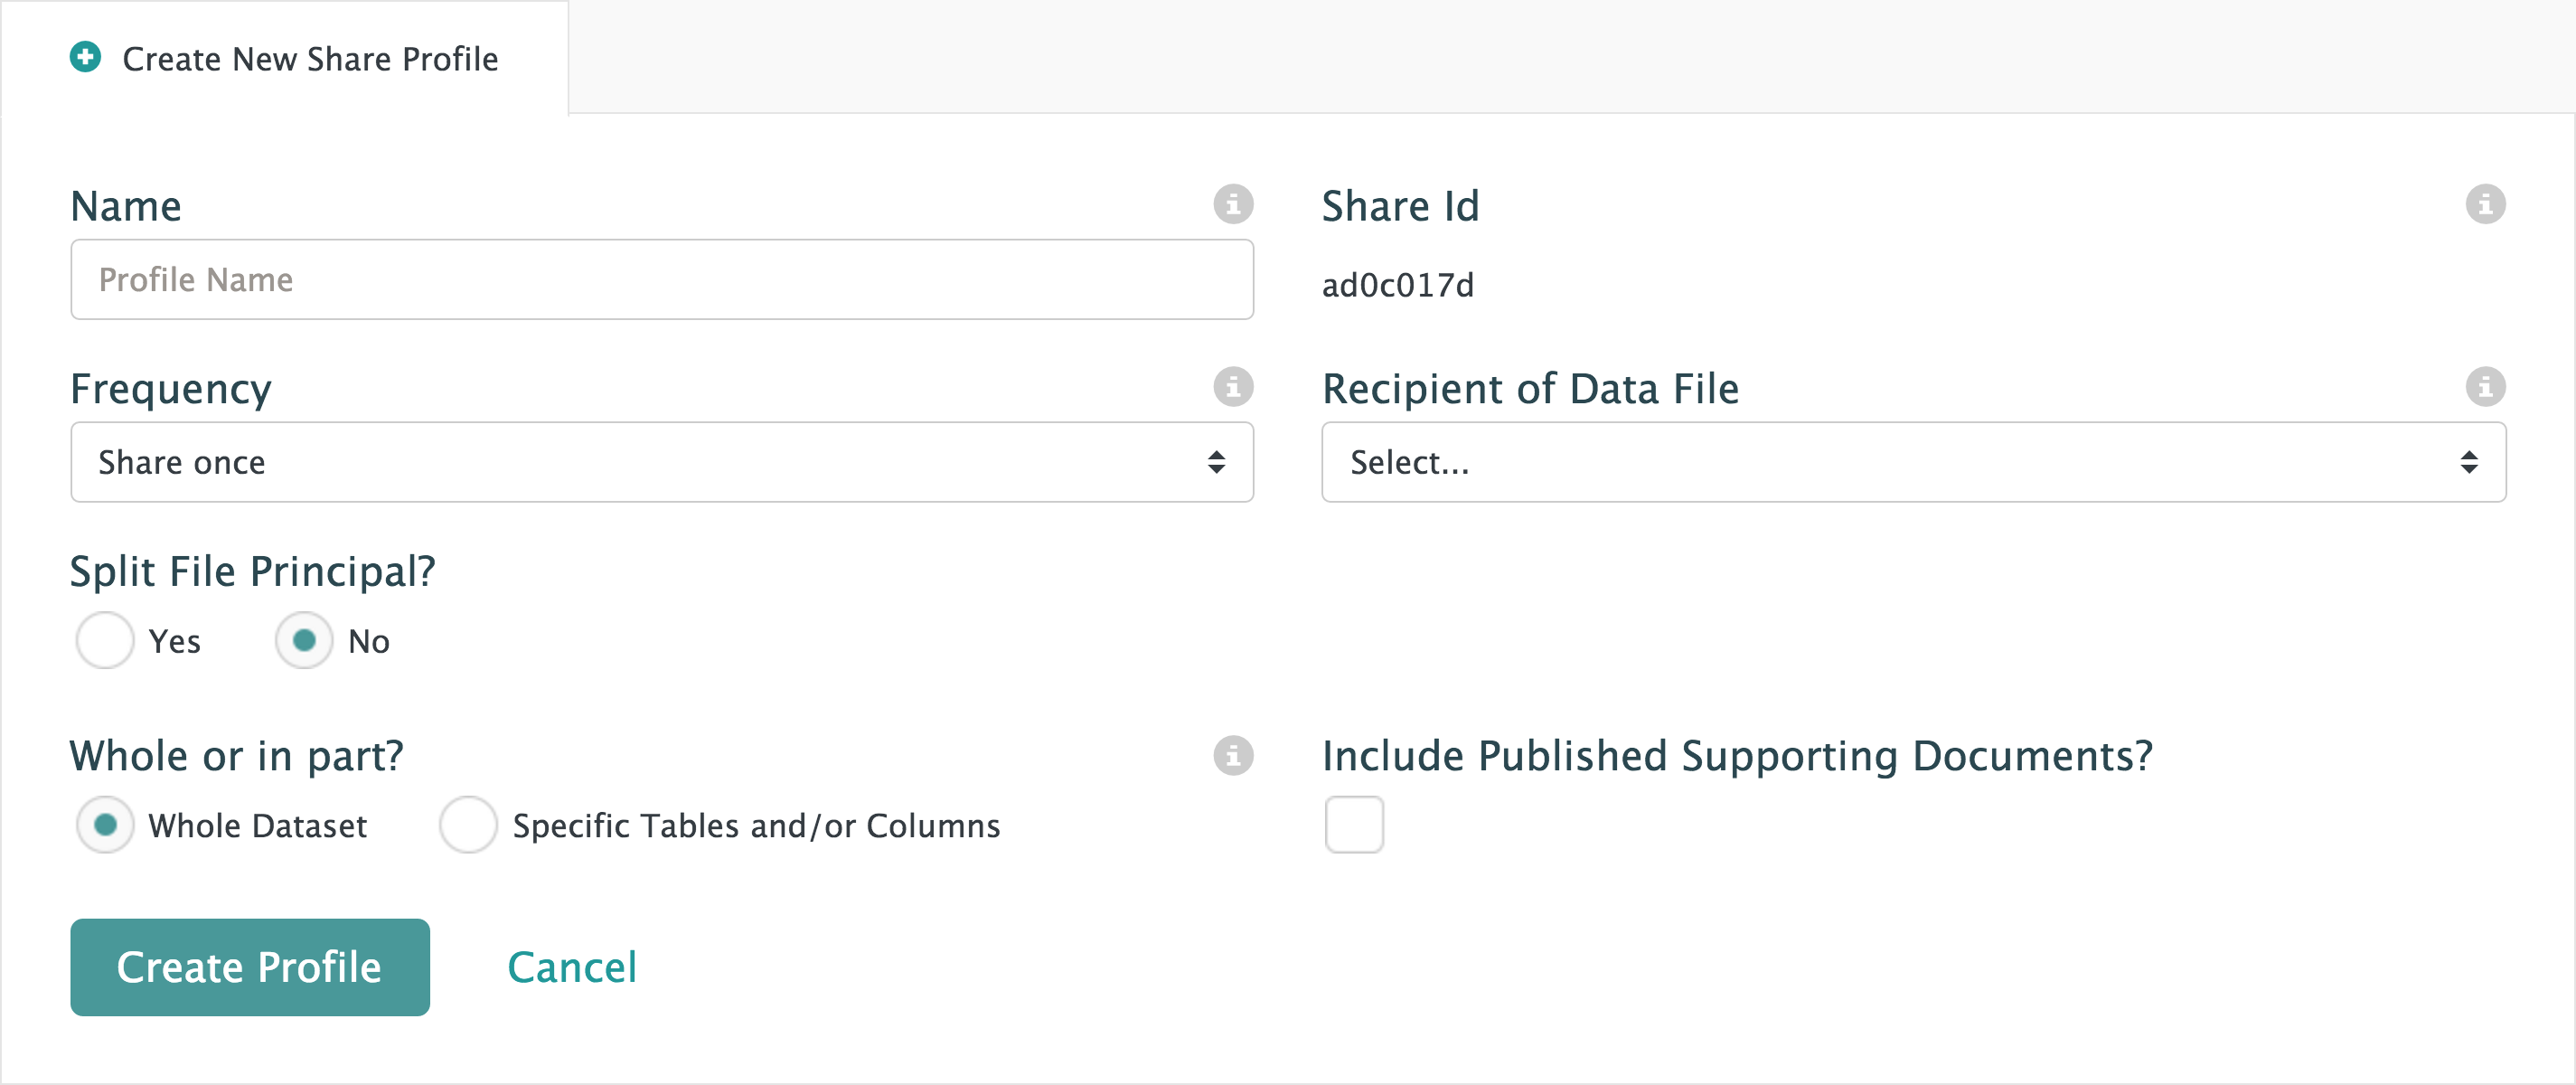
Create New Share Profile panel
- Name
- A name to identify the
- An auto-generated string required by the recipient in order for them to access the Dataset in their Appliance
- Frequency
- The number of times to share the data.
- Share once – A single share of the Dataset. The recipient will not receive a new version when the Dataset is updated
- Share every publish – An ongoing share of the Dataset. The recipient will receive a new version whenever the Dataset is updated
- Recipient of Data File
- Name of the Appliance with which the data will be shared
- Split File Principal
- Choose whether the data should be split for anonymisation by a trusted third party
- Whole or in part?
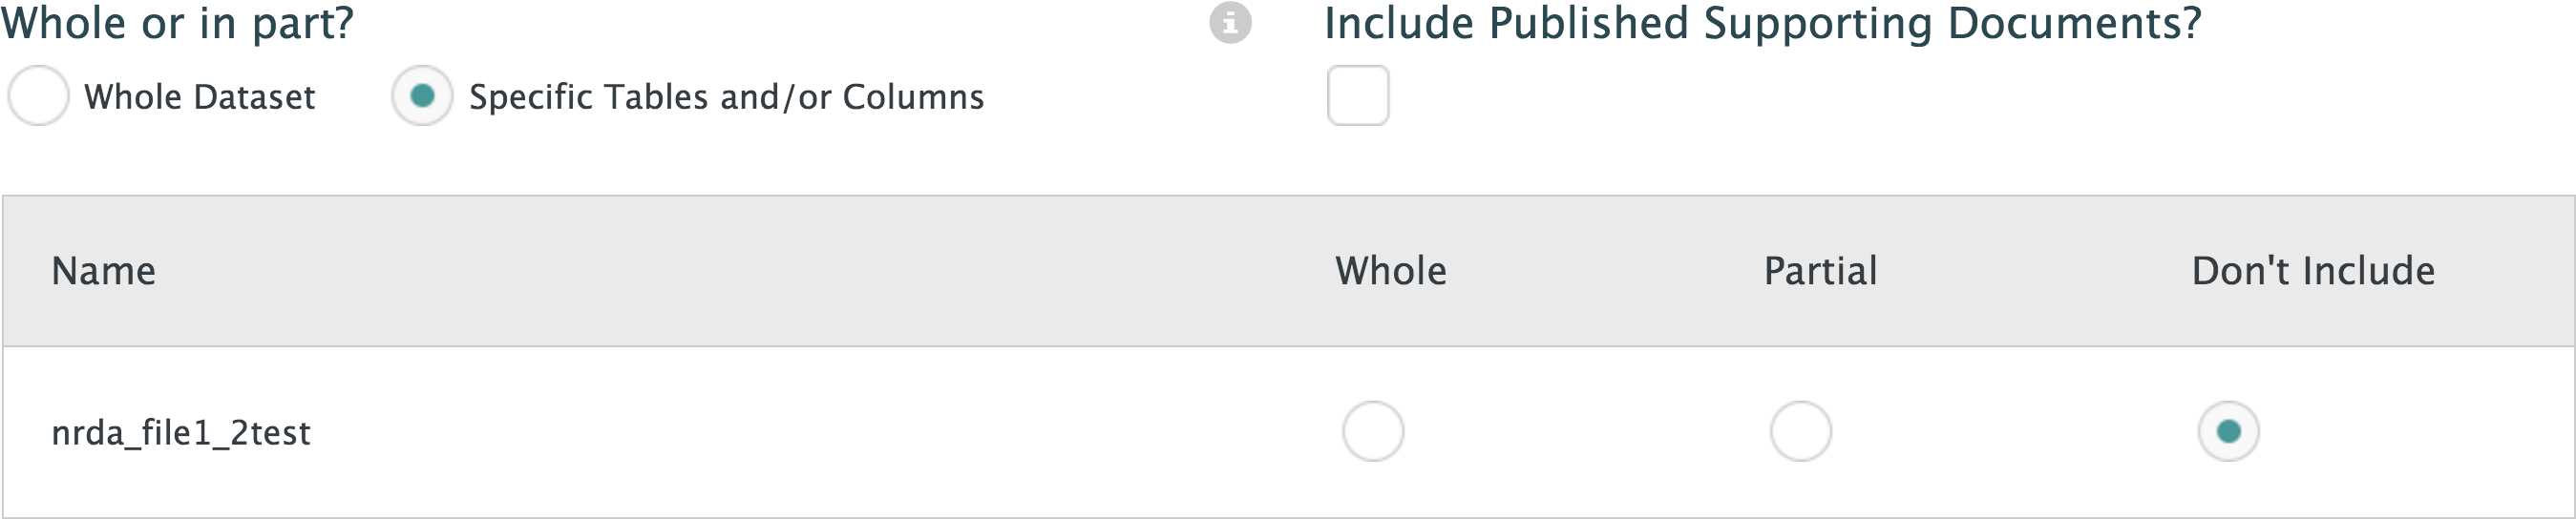
- Choose whether the whole Dataset is shared. Selecting Specific Tables and/or Columns reveals an extra option to choose the relevant data
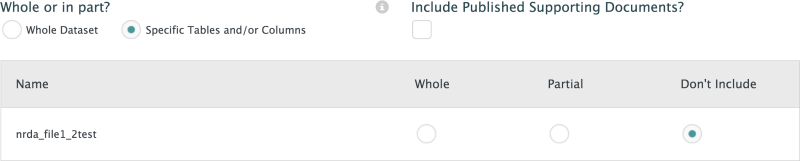
Select Specific Tables and/or Columns, then choose partial data
- Include Published Supporting Documents?
- Tick the box to include all published supporting documents with the shared data
- Click this button to confirm the creation of the new
- Click this button to stop the creation of the new
The new will appear in the Sharing Profiles section of the page, as shown below:

Sample
- Click to adjust the settings of the
A new panel shows the existing settings with options to adjust the settings, as shown below:
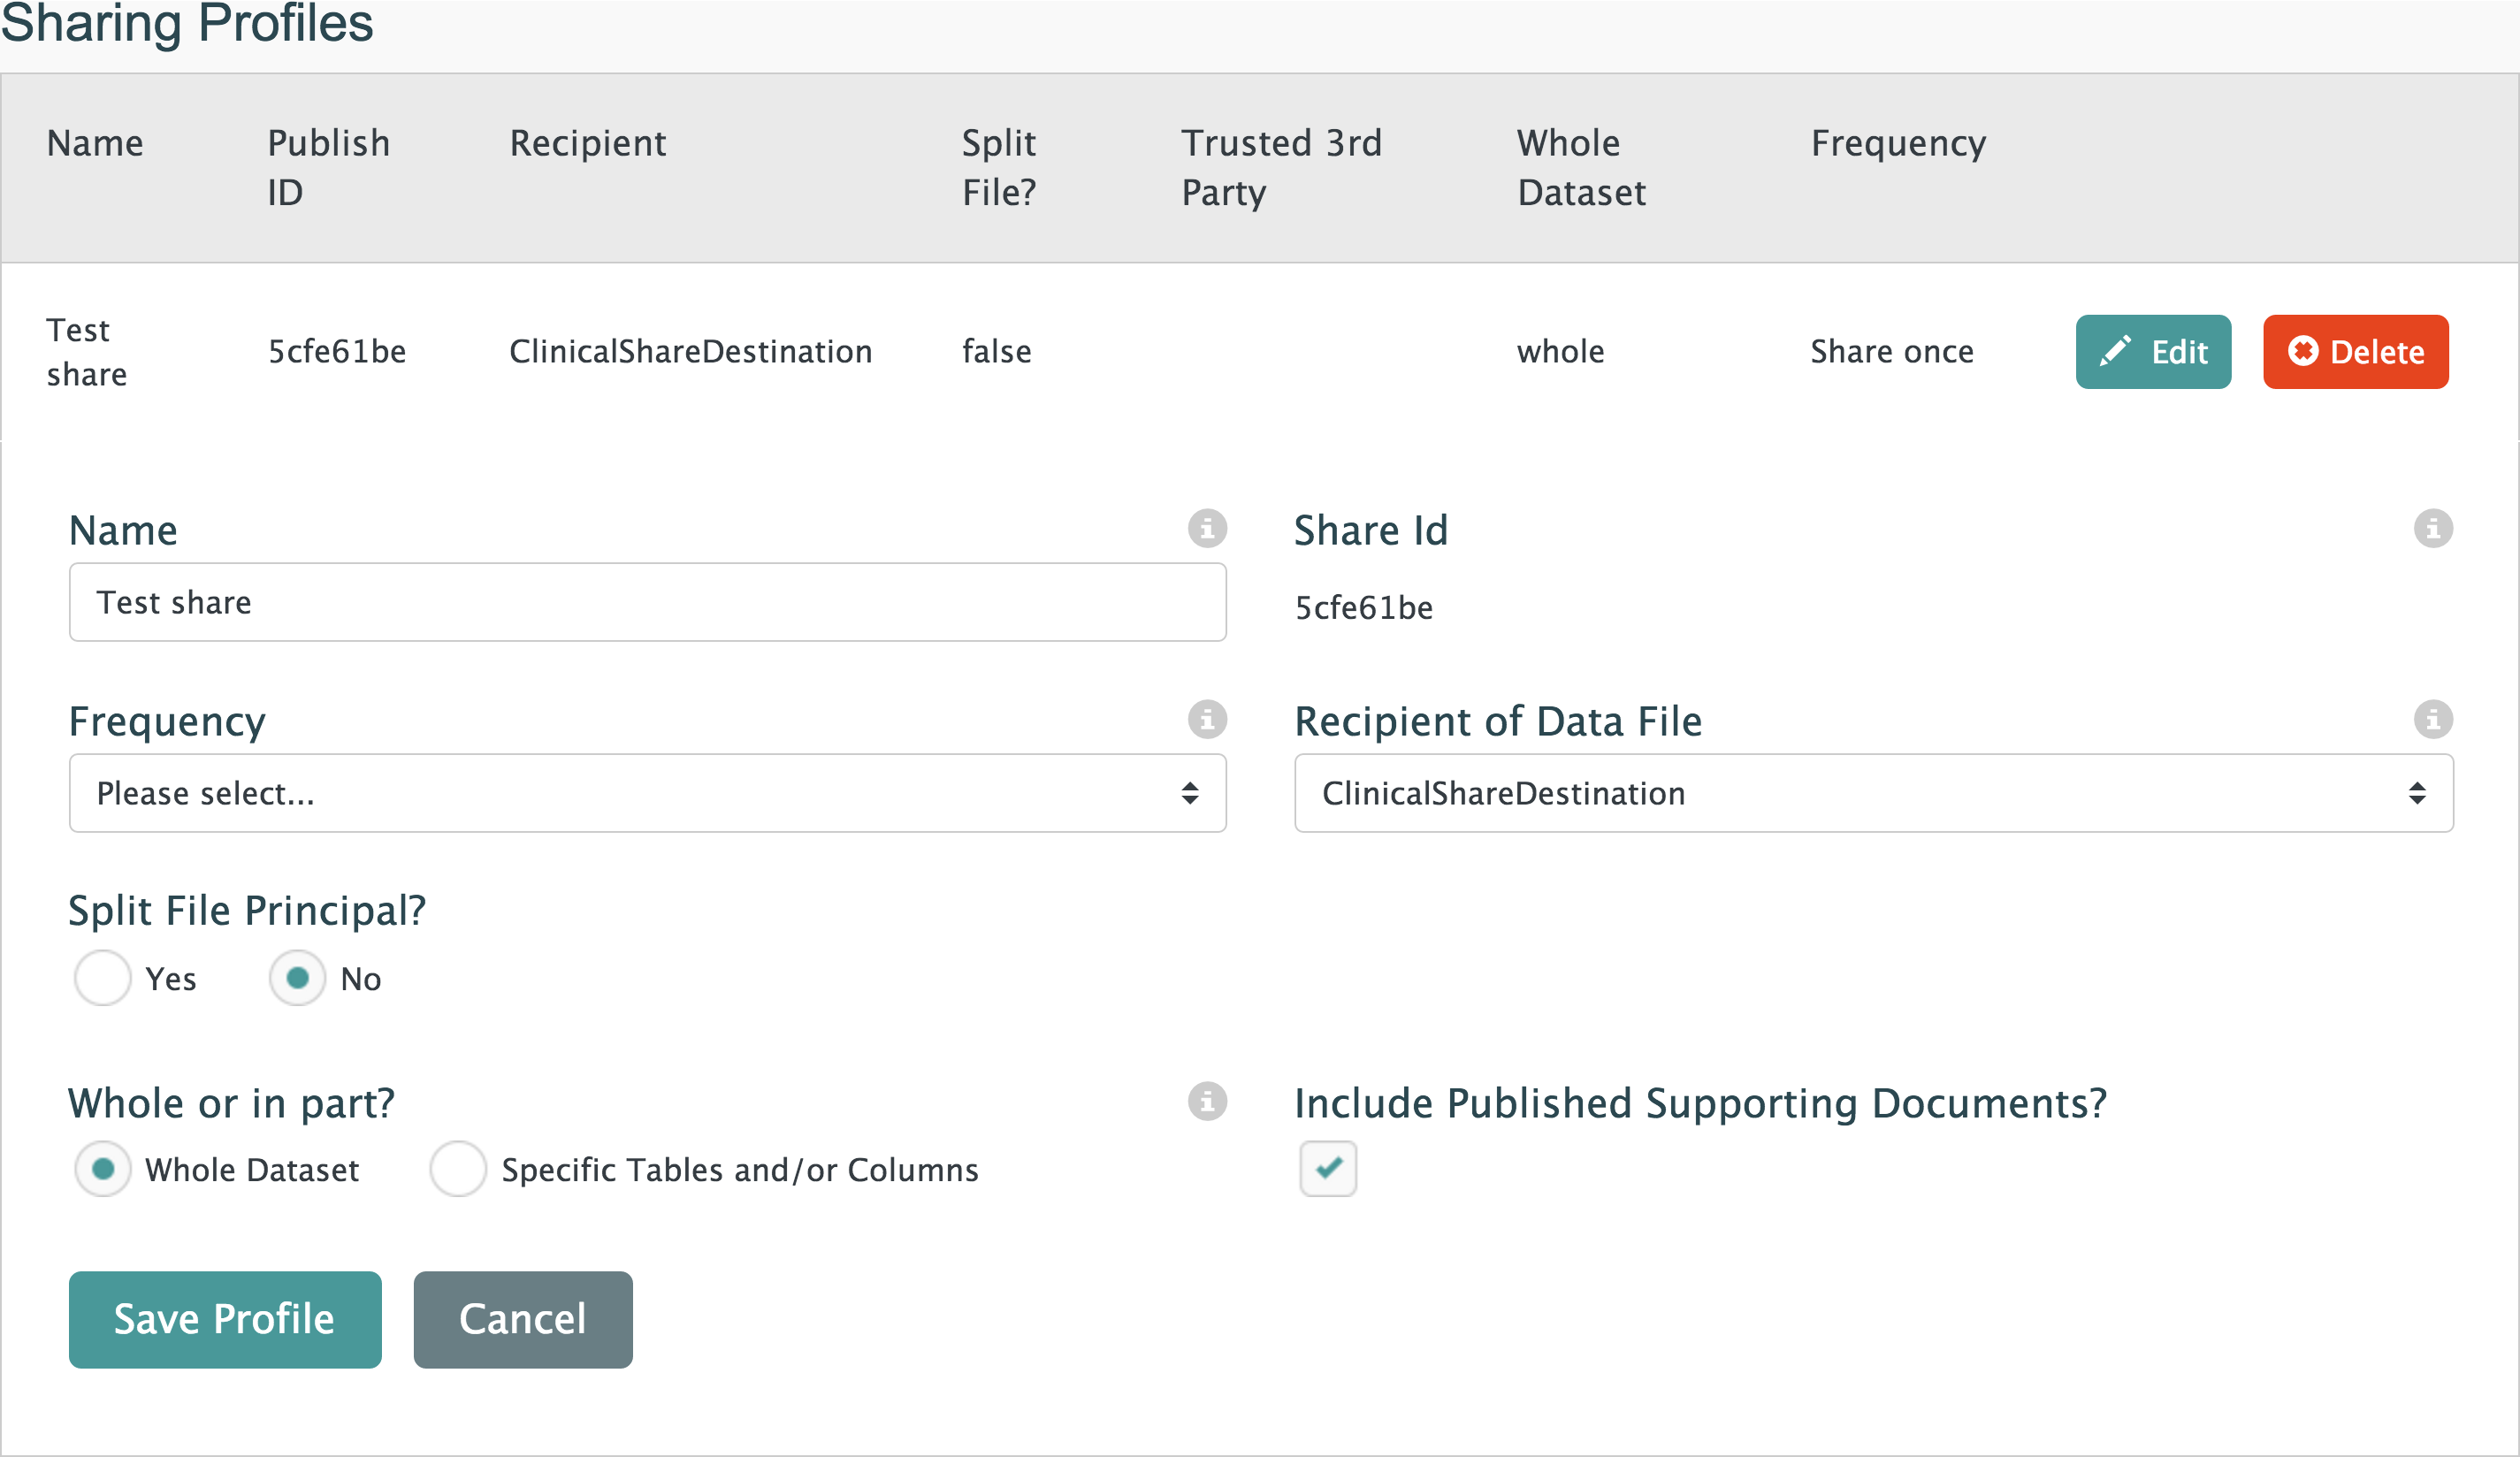
Editing a
- Save changes to the and hide the editing panel
- Cancel changes to the and hide the editing panel. Pressing again will also produce the same result