
How to upload a supporting file
The following steps show how to upload a supporting file to an existing Dataset.
- Log in to the RDA
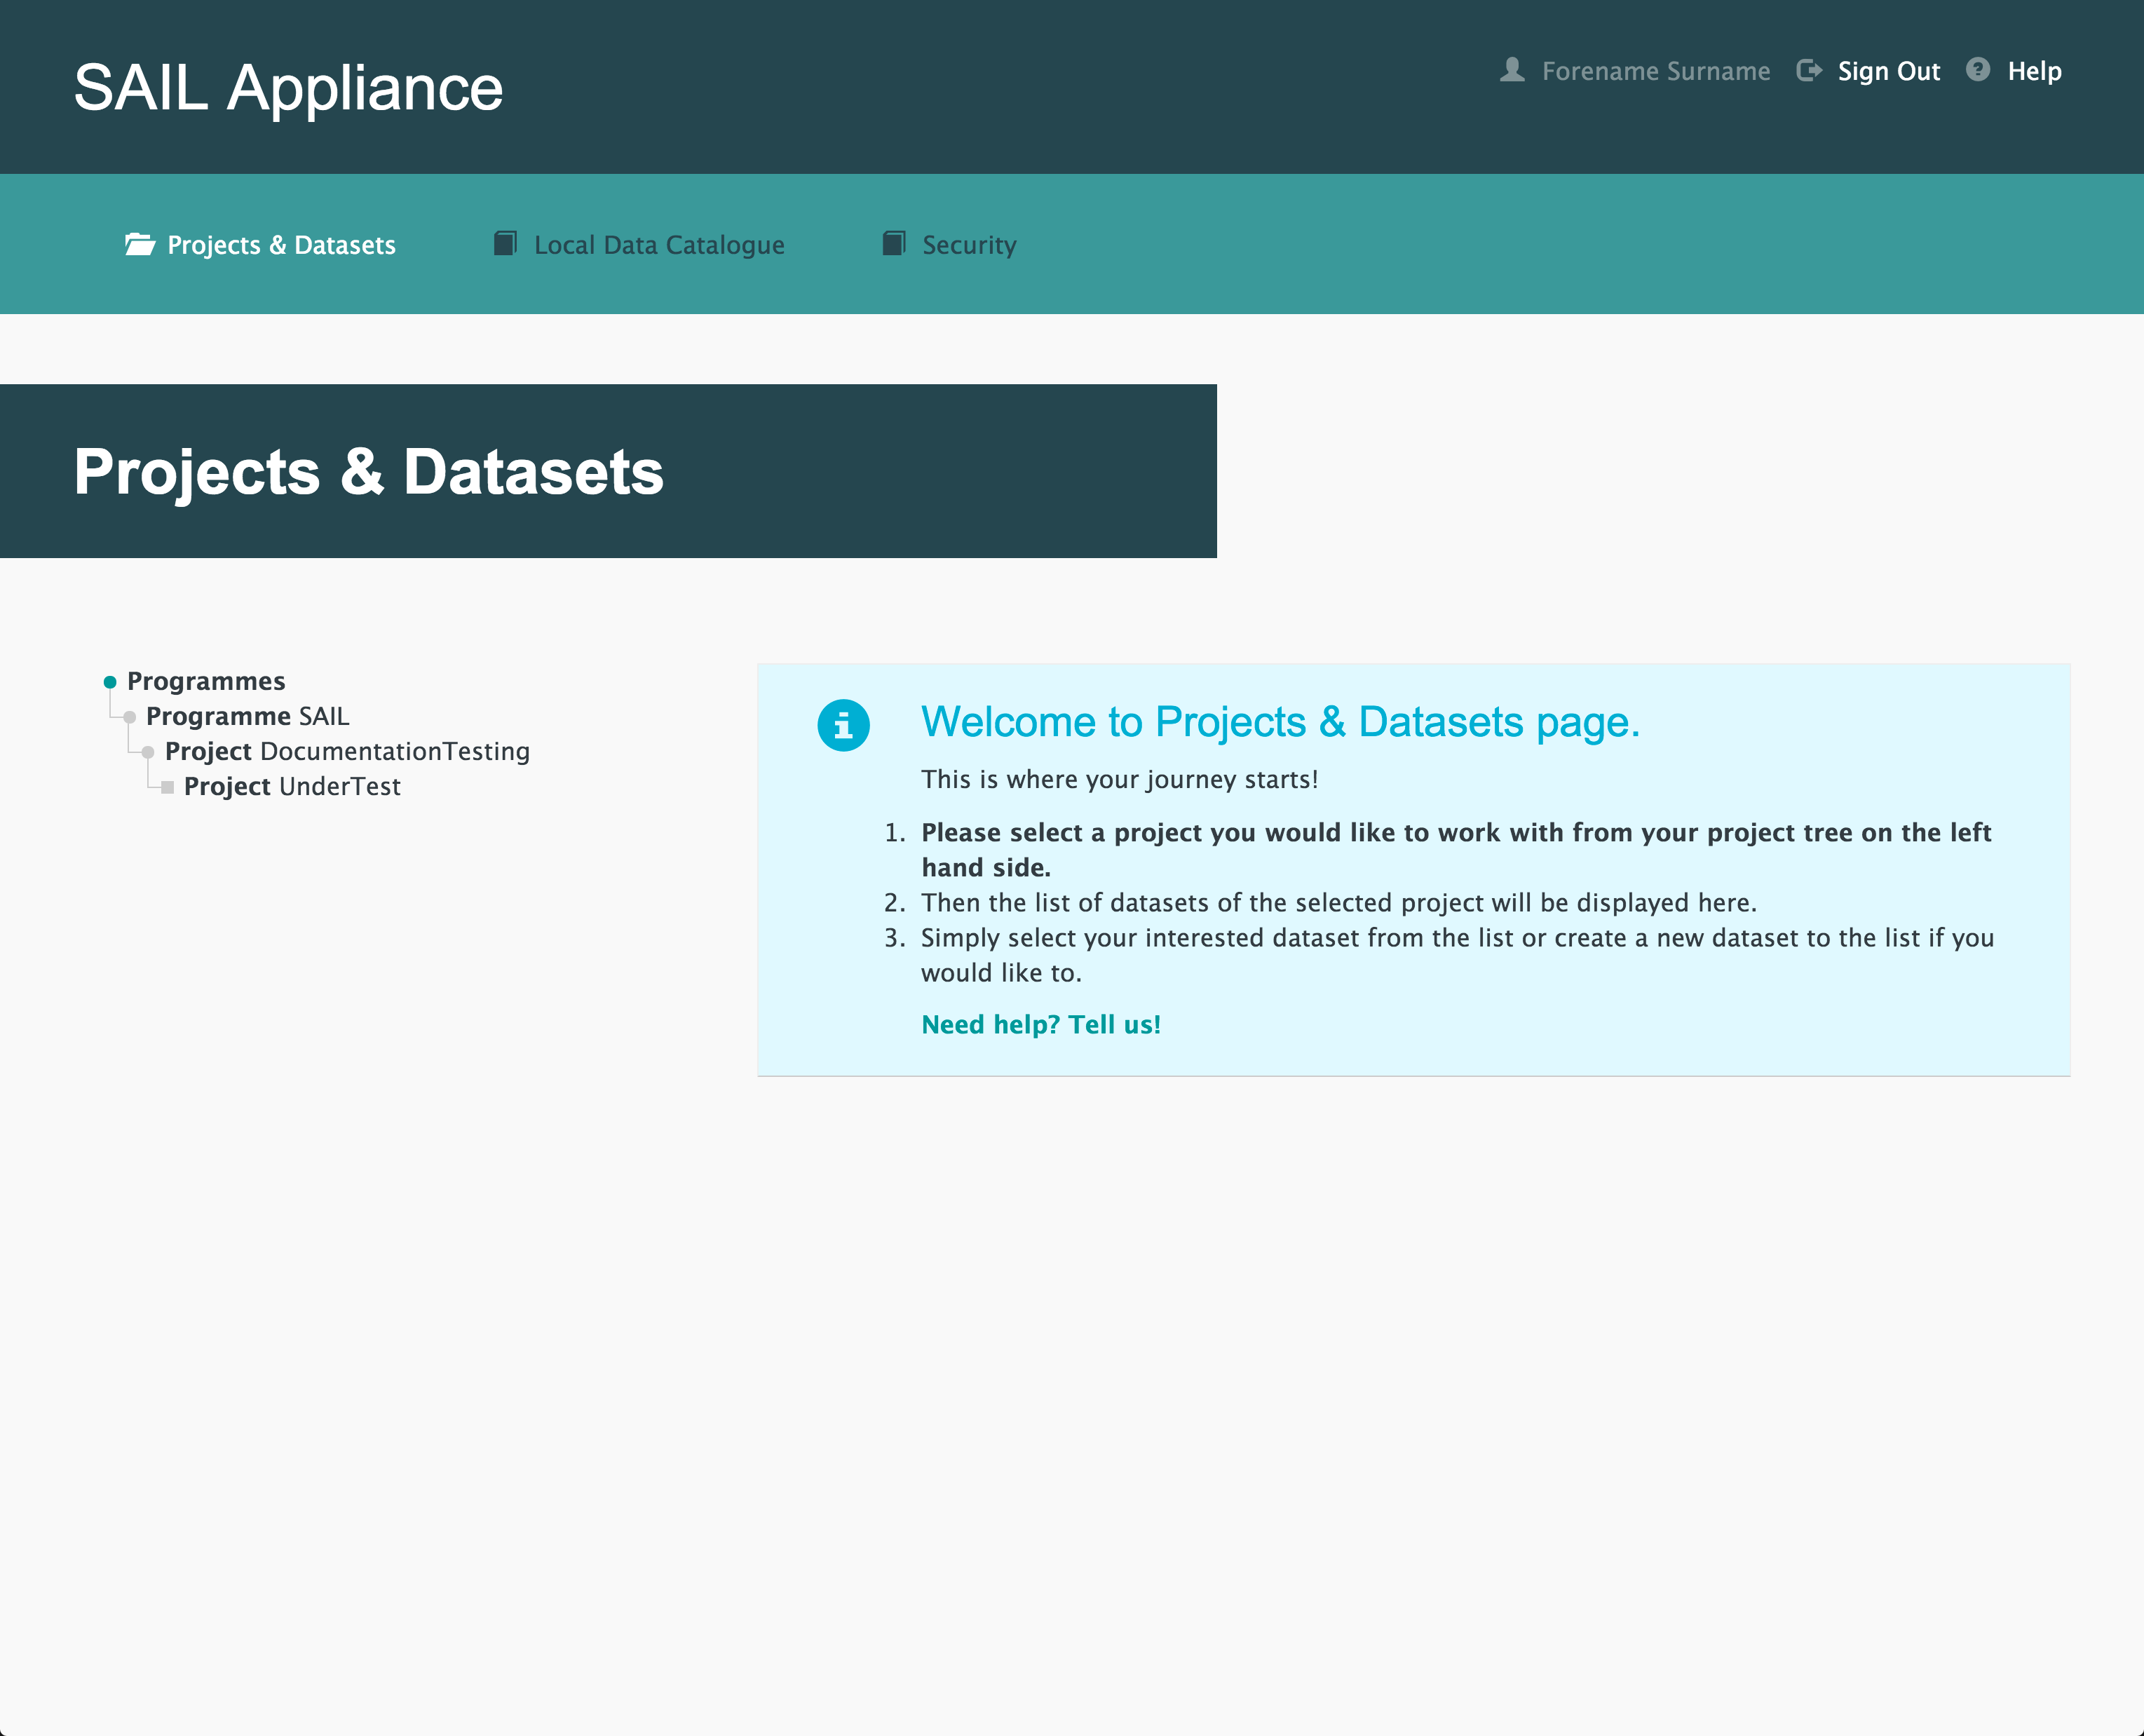
Default view of RDA user interface
- Click Projects & Datasets

Projects & Datasets menu item
The Projects & Datasets section is selected by default.
- Select a Project from the left-hand navigation menu

Left-hand navigation menu showing available Projects
- Click
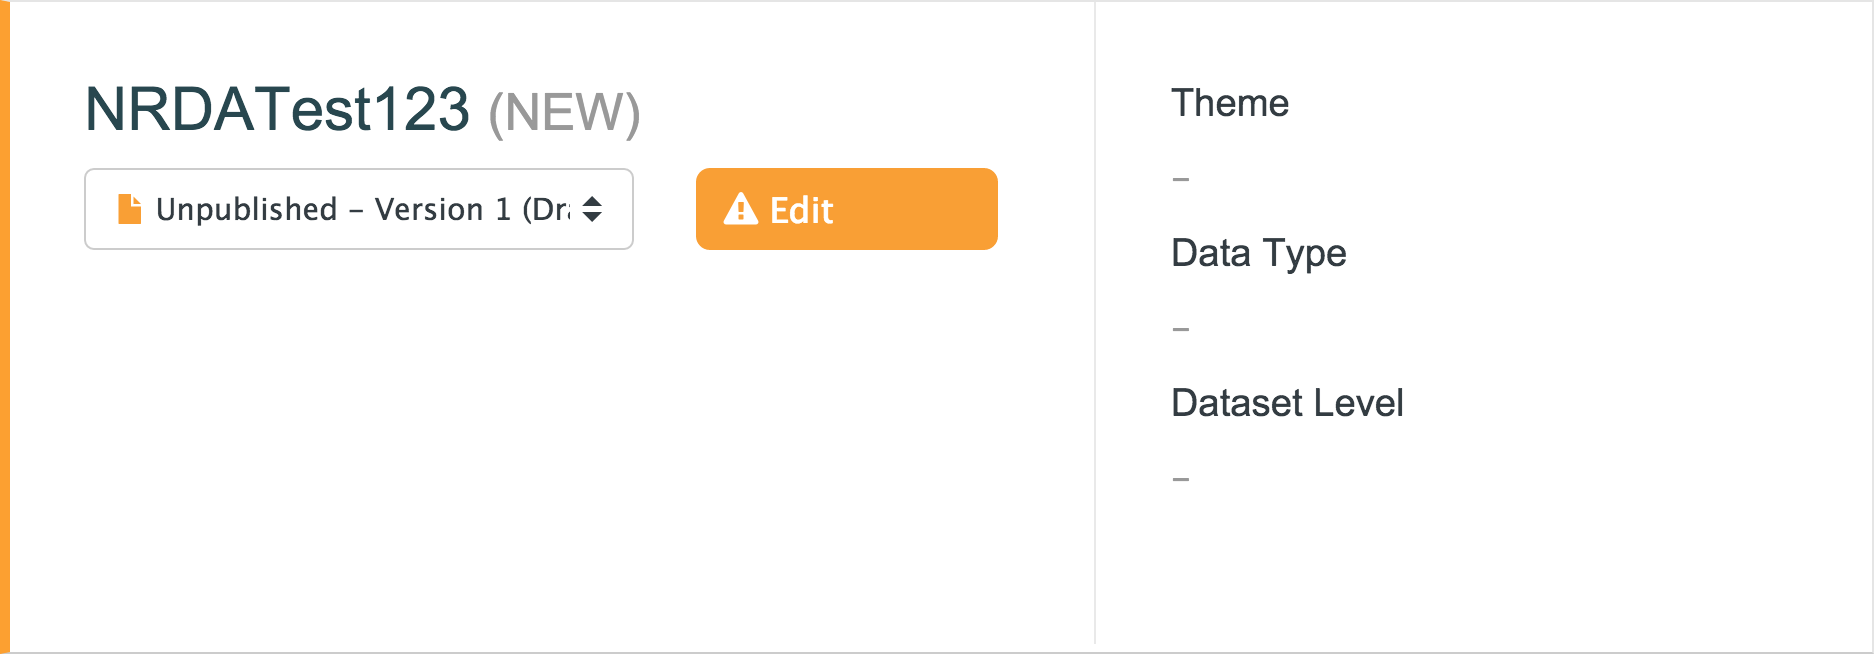
New Unpublished Dataset
- Click Supporting Files
![[%page.pd-supporting-files%] menu item](../../Resources/Images/projects-datasets/nav3.png)
Supporting Files menu item
- Click

Default view of Supporting Files page
The Upload Supporting File panel appears and prompts the user to upload a file or folder.
- Select an option from the Attach To Documentation Field dropdown
- Click or to upload the relevant content

Default view of Supporting Files page
- Attach To Documentation Field
- The field the supporting file should be associated with
- Click this button to upload a supporting file. Alternatively, click and drag a file to the File Upload section to directly upload it
- Click this button to upload a supporting folder. Alternatively, click and drag a file to the File Upload section to directly upload it
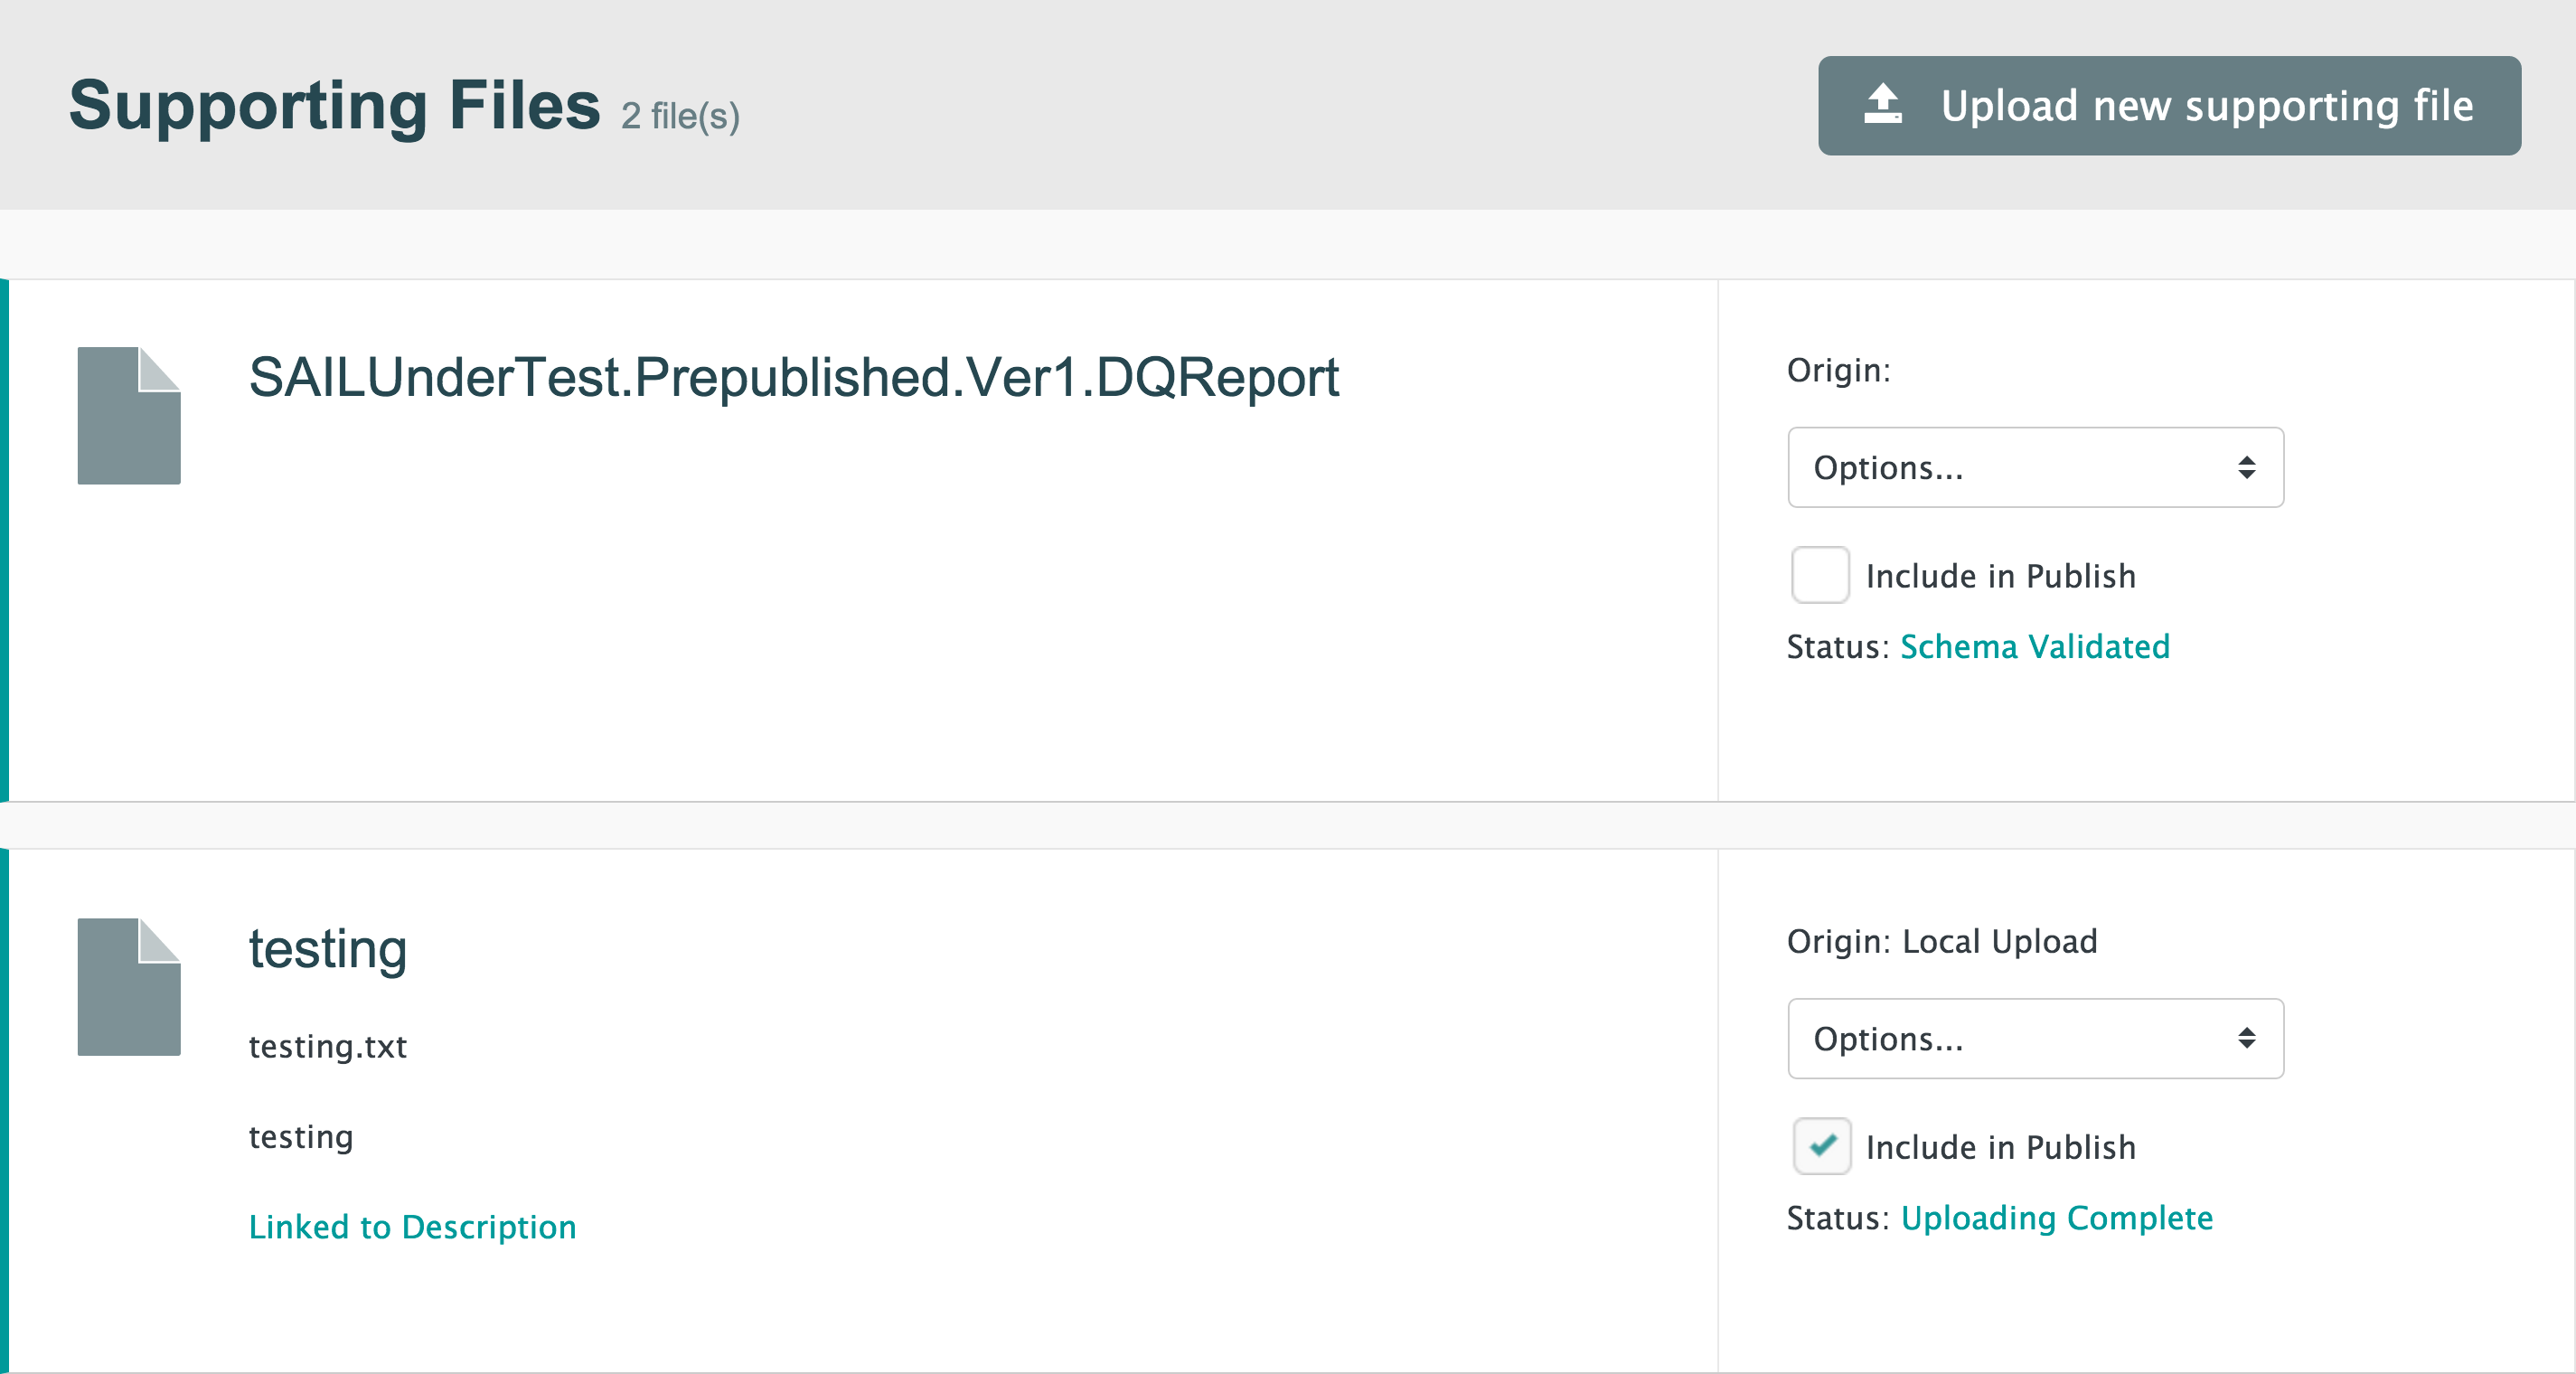
Default view of Supporting Files page
- Description
- A description of the content of the supporting file, including a link to any section to which the supporting file has been assigned
- Origin
- The source of the uploaded file or folder, e.g. Local Upload
- The following options are available for the selected file or folder:
- Validate Schema – check and validate the schema for the data. The Dataset cannot be published until the schema is validated
- Update – refresh the uploaded file or folder with new data
- Download – download a copy of the file or folder
- Remove – remove the file or folder from the Dataset
- Include in Publish
- Tick this box to include the data in the published Dataset. Once published, the content will be available in the Local Data Catalogue
- Status
- The status of the file or folder, e.g. Schema Created, Uploading Complete